Snapseed is probably the most feature-enriched photo editing app for Android. It has so many functionalities loaded up its arsenal that it’s hard to keep a count on. Today, we will be showing you the steps to create a double exposure image via Snapseed. While using this effect, a detailed level of precision and effort are needed in order to get the best result. So with that in mind, we have broken this guide into simple yet detailed steps. Follow along. On that note, also check out the steps to create a Dispersion Effect via Snapseed.
What is a Double Exposure Image
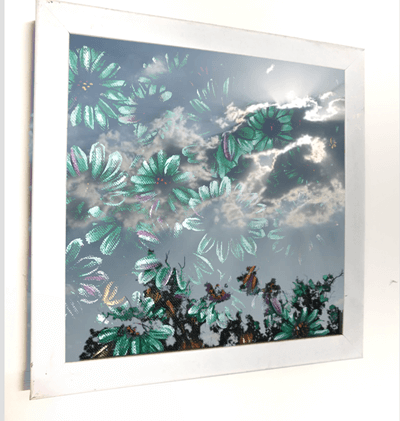
In simpler terms, Double Exposure is the technique wherein we superimpose two (or more) images on top of each other. In other words, think of it as adding different layers to your images. But the blending is done in such a precise manner, that you won’t be able to see the separation of one image from the other. This is the true power of the Double Exposure tool provided by Snapseed. So with the term now clear, let’s have a look at the required steps. Also, have a look at our guide to creating a perfect Bokeh Mode image via Snapseed.
Before beginning, there is another point worth mentioning. You’ll get the best result on an image having a white background. However, if you can’t find a suitable image or your image doesn’t have a white background, not an issue. You could easily do so right from the app itself. This is how it could be done. If the background is already white, you could skip STEP 1 and head over to Step 2 to proceed with adding a Double exposure effect via Snapseed.
Step 1: Making the Background White
- Open the Snapseed app and add the desired image.
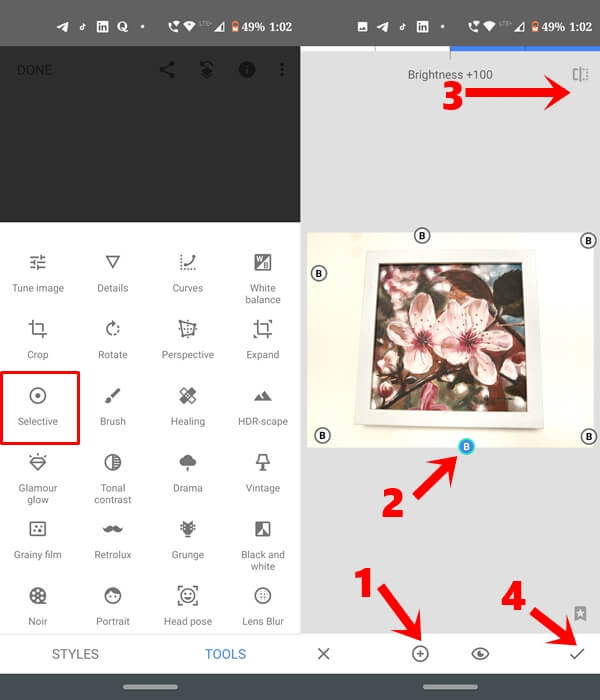
- Next, tap on Tools and choose the Selective option. The technique we are about to use is known as Selective Brushing.
- Now tap on the plus icon and subsequently anywhere on the background. This will place a B icon in that region. Now perform a rightward swipe on your screen and increase the brightness to +100.
- Similarly, again perform this step, place the B icon at the desired spots and increase the brightness. Do this till you are able to make the maximum background white.
Now in order to get a perfect double exposure effect using Snapseed, we will have to darken a subject. This will be done to make it stand out from the white background. Refer to the instructions given in Step 2 for the same. Moreover, you could even add watermark to any image via Snapseed. Have a look at our guide to know more.
Step 2: Giving a Darker Shade to your Subject
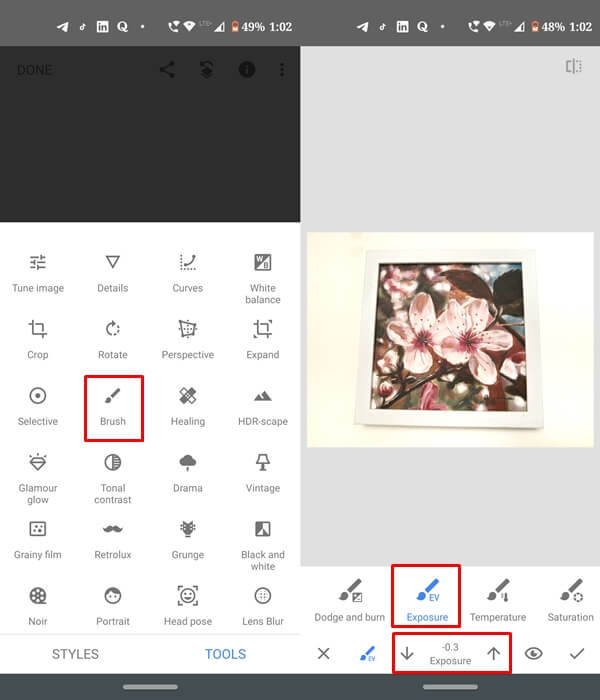
- Tap on Tools and select the Brush tool.
- Now select the Exposure brush and decrease its strength to -0.3.
- Brush your entire subject so that it gets highlighted with a darker shade. You could even zoom in to the subject via the two-finger pinch-out gesture.
- Finally, you could now add the double exposure effect to your image via Snapseed. Just follow the final step mentioned below.
- Don’t miss: How to create Color Pop images via Snapseed app
Step 3: Adding a Double Exposure Effect via Snapseed
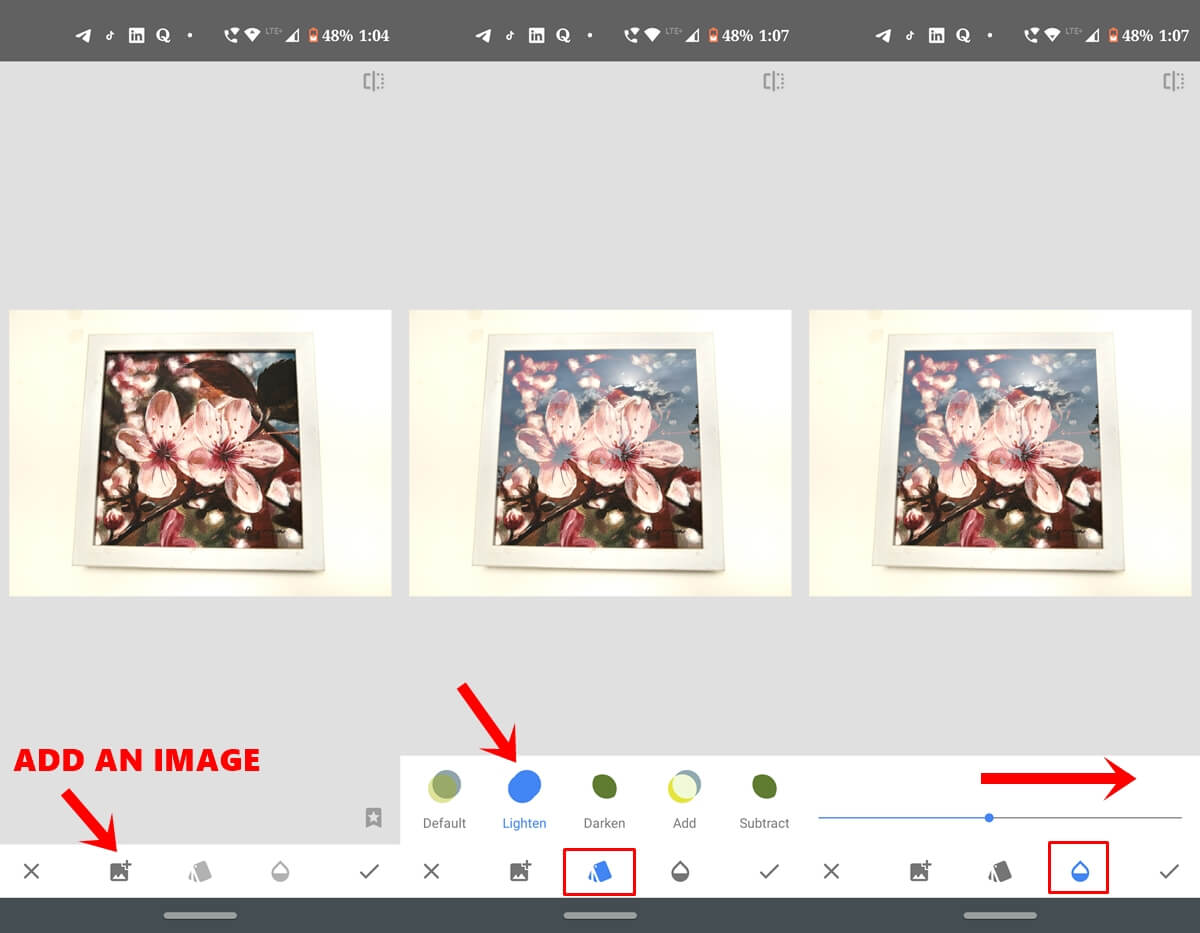
- Head over to Tools and select the Double Exposure option from the Snapseed app.
- Now tap on the Open Image icon and select the desired image that will act as the blending image.
- Next, tap on the Style option (the central icon) and select Lighten.
- Finally, head over to the Opacity section and drag them towards the right until you achieve the desired results.
With that, we conclude the guide on how to add a double exposure effect via Snapseed. Do let us know your views about this feature in the comments section below.

Join The Discussion: