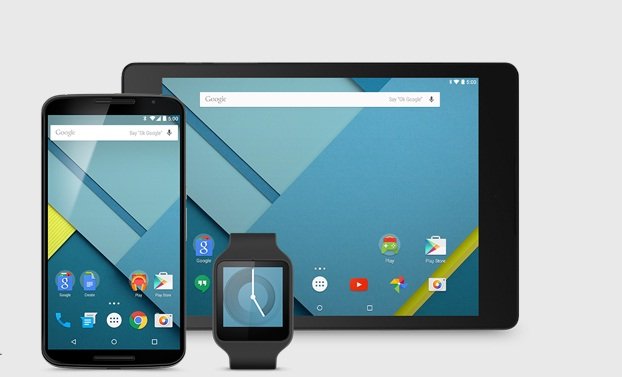
Google had finally announced the Android 5.0 Lollipop as its new and major OS release till date. The Android Lollipop was earlier called as the Android L in its pupal stage and now it is finally ready to come in the Lollipop flavour. The Android Lollipop will make its debut with the Nexus 6 and Nexus 9 device which are due to launch in the next month. The Android 5.0 will be rolled out to the other devices in Nexus line-up in the coming weeks, but we expect them to arrive in the second or third week of November.
But thanks to Google, the Nexus 5 and Nexus 7 2013 users can now taste the sweetest Lollipop OS right now using the Android 5.0 Lollipop preview images. Google released the preview images to let developers to tone their apps with the new material design and the 5000 new APIs.
The images are rolled out with the build name LPX13D for the Nexus 4 and Nexus 7 2013 WiFi model. Today we will show you how to install these preview images on your Nexus devices. Follow the below guide carefully to get the Android 5.0 on your device.
WARNING
This Guide is intended only for the Nexus 5 and Nexus 7 2013 WiFi models. Be extra cautious when you choose the firmwares as flashing wrong firmwares might result in a bricked device. You alone are responsible for any consequences that might occur during the process. DroidViews or any of its community members shall not be held responsible for any damage to your device.
PREPARE YOUR DEVICE
- Charge your device above 60% battery level to avoid shutdowns during the process.
- Install proper device drivers on your PC and check if the device is detected. You can find the drivers for your device from our driver downloads page → Click Here
- You should have a bootloader unlocked device.
- Enable USB Debugging on your phone from Settings> Developer options. If you do not find Developer option under device settings, read the instructions given here.
- Either setup ADB and Fastboot on your computer, or download the Minimal Fastboot/ADB tool and unzip it: mfastboot-v2.zip
DOWNLOAD PREVIEW IMAGES
Download the following preview images based on your device model:
- Nexus 5 Android 5.0 Preview Image
- Nexus 7 2013 WiFi Android 5.0 Preview Image
INSTALL ANDROID 5.0 LOLLIPOP PREVIEW IMAGES
- Open a command prompt in the Fastboot folder by right-clicking on the mouse in the empty space of the folder while holding the Shift key.
- Connect your device to your computer using a USB cable and reboot your device into bootloader by typing the following command in the command prompt.
- Reboot the device into fastboot mode with the following command:
adb reboot bootloader
- Make sure that your device is bootloader unlocked, else unlock it using the following command:
fastboot oem unlock
- Follow the on-screen instructions and choose to erase the device (recommended). This wipes the entire data on your device, so make sure you have a backup.
- Unzip the preview image to the same folder as the fastboot folder and enter the following command in the command prompt.
For Windows users:flash-all.batFor Linux or MAC users:
sudo ./flash-all.sh - The script file will automatically flash all the files on your Nexus device, wait patiently and don’t unplug your device as it may take a while to install the new OS.
- Once everything is done, reboot your device.
That’s all, upon rebooting you’re ready to taste the tasty Android 5.0 Lollipop on your Nexus device.
Leave your experience with the Android Lollipop on your device in the comments section below.


If you are using mfastboot rename the mfastboot.exe to fastboot.exe
Thanks for sharing the info!