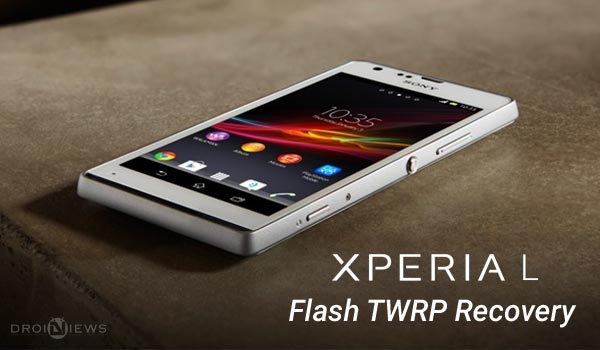
Not every low budget Android handset has the fortune to receive official TWRP support. Users of many such devices have to have patience for days, or sometimes even months until someone ports it. But today, we will talk of another low-budget smartphone by SONY, which has made this exception and received official TWRP support.
Despite of being a low-budget smartphone, the Xperia L offers some really cool features that an Android user always appreciates. This includes a powerful Snapdragon 1GHz Dual-core processor, an Adreno 305 graphics unit for smooth gaming experience, a 4.3-inch scratch resistant TFT display, with 1GB RAM and Jellybean 4.1 out-of-the-box. The device is also officially upgradable to the higher Jellybean 4.2.2 version. Being a solid device in a pretty slim price, it is still sold at a vast scale in the smartphone market.
The SONY Xperia L was launched in May 2013 and has struggled for a long time since then. And it has finally made its way to the TWRP portal. We are proud to have developers like those in the TWRP team, who have the tendency to listen to their user’s demands and desires. The first TWRP version that has reached to the Xperia L is v2.8.4.0. Getting TWRP on SONY Xperia L is quite tricky as compared to other device which can use tools or simple fastboot commands, while during this guide the recovery will be flashed right away to the current kernel. You can read more about TWRP project here. Now let us get started.
Warning!
Unlocking bootloader, rooting and installing TWRP will void your Xperia’s warranty. DroidViews or any of its community members shall not be liable for any damage to your device. Perform every action at your own risk.
Before You Begin
- Install SONY USB drivers: Link
- Enable USB debugging using our detailed guide.
- Backup your device completely, this includes storage, SMS, contacts, and apps etc (This is a good practice to carry, every time you are about to perform any custom function).
- Unlocked and rooted SONY Xperia L.
- Download and extract Android tools package containing the ADB and fastboot binaries.
- Download the FOTAKernel image (recovery) file and transfer it to the extracted android-tools folder.
Downloads
TWRP Recovery v2.8.4.0: Link
Steps to Install TWRP on SONY Xperia L
- Connect your Xperia L to the PC via USB cable.
- Open the android-tools folder. Press SHIFT key and right-click on an empty space inside the folder.
- Select Open command window here from the pop-up menu that appears.
- Type the following command to initiate the adb shell environment:
adb shell
- Now, we need to grant superuser permissions to it, type in:
su
If you’re prompted with a message, accept it or agree to it.
- Time to enter the command to flash the image:
dd if=/sdcard/openrecovery-twrp-2.8.4.0-taoshan.img of=/dev/block/platform/msm_sdcc.1/by-name/FOTAKernel
- It will take a few seconds, then enter the given command to reboot your device.
fastboot reboot
- If you wish to boot your phone into recovery mode, use the command below:
adb reboot recovery
Go ahead and use the installed TWRP recovery to flash custom ROMs, kernels or tweaks. Visit the original XDA thread for detailed information. If you’ve installed TWRP on SONY Xperia L, you can Download and Install Material Design Themes for TWRP Recovery.


hello, I did what you wrote everything and when I restarted my phone into recovery i couldnt have this twrp menu looping and now I tried sony flash program to flash tft to stock rom and it gives me messages that I cant do it. can you please help me how to bring my rom back ?
I assume you have already unlocked the bootloader and rooted, am I right? If so, you first need to relock the bootloader and completely unroot.
When type adb shell its displaying an error :device not found…plz help me out
Reinstall the drivers.
Actually what I did is I have rooted my phone long ago and yesterday I have unlocked the boot loader following instructions in sony official website then after that I switched on my phone…….I can see only coloured waves displaying non stop could you please help me out to get phone to normal condition