The latest Moto series Android devices have conquered the smartphone market, covering every factor that controls the aspects of any smartphone’s success. They are fast, more battery efficient and deliver optimum performance, but all this in a very reasonable price. Moto has also been successful in delivering latest firmware updates to its devices, which not only includes the mid-range Moto X or Moto G, but also the Moto E.
Also, Android Lollipop has been a huge turnover, which brings in various improvements and new features, with a more simple and beautiful Material Design interface. Lately, a new update – Android Lollipop 5.1 has been released which has already been pushed to the Nexus devices. We have also covered a detailed overview of Android Lollipop 5.1. Motorola, on the other hand, has also planned to deliver its flagships with this new update, which would definitely take a decent time period. But then, not every one of us is that patient to wait for the update to arrive on our device officially and hence, we make use of custom ROMs, which provides us with the taste of latest firmware.
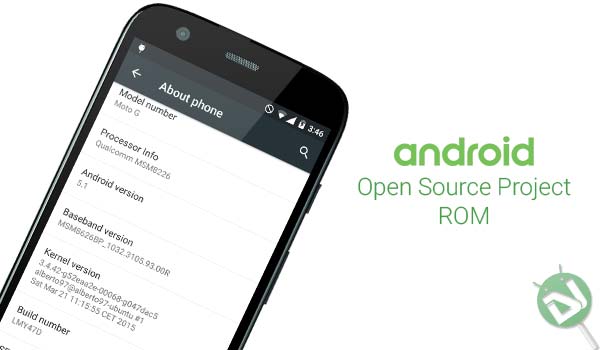
Moto G is Motorola’s mid-range Android smartphone which has seen a lot of success in several countries over November 2013. It comprises of a 4.5 inches Gorilla Glass IPS LCD display, a powerful Snapdragon 400 1.2 GHz Quad-core processor, 1 GB RAM, and Adreno 305 GPU, and comes in an 8GB and 16GB variant. The device runs on JellyBean 4.3 out-of-the-box and is eligible for the Lollipop 5.0 upgrade, officially. But today, we will update the Moto G 2013 to Android Lollipop 5.1 using a custom ROM.
About ROM
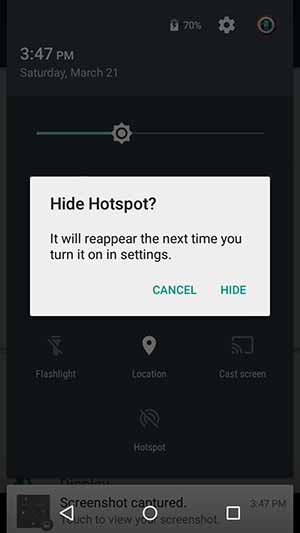
The ROM has been compiled and maintained by Alberto97 (Senior member @XDA). The best thing about the ROM is its untouched and complete stock behavior. It has been compiled directly from AOSP Lollipop 5.1 code with no added modifications. The developer has also pulled some commits from CyanogenMod and CAF to make this work on the Moto G. Apart from this, three specific minor features have also been added – Clear All button, Advanced Reboot menu, and option to delete screenshots directly from the Notification area. Note that the ROM is not rooted, but you can flash SuperSU to gain that.
Working features:
- RIL
- WiFi
- Bluetooth
- Audio
- Mobile Data
- Offline Charge
- USB OTG
- MTP
- Hotspot WiFi
Only a few minor things are yet to be worked on, this includes no support of dual SIM and CDMA variant, and also the stock SMS app cannot send SMS. While you can send SMS using 3rd party apps like Messenger, 8SMS etc. AOSP ROM has only been released a while back but it has been already claimed to be stable and working flawlessly by users. If you’re a developer, you can give a look over to the ROM source code
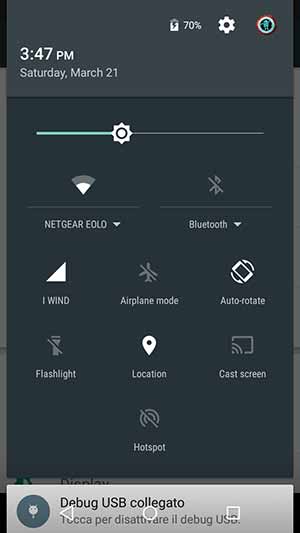
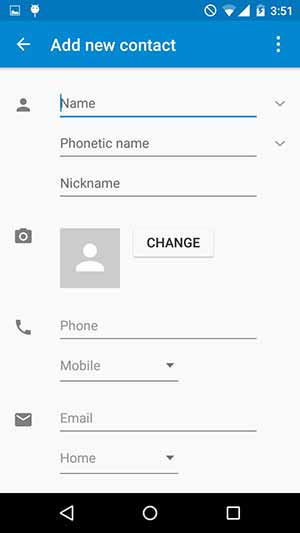
Visit the XDA thread for more information and direct developer support. You can have an idea of what’s coming using the screenshots below.
Screenshots


Downloads
Requirements
- In order to install this ROM, your phone requires to be bootloader unlocked, with TWRP installed. You can do the same using our guide.
- Fill up your Moto G to at least 60% charge level, to avoid any uncertain shutdowns during the process.
- Backup everything, this includes your phone’s storage, SMS, contacts, apps etc.
- Also, take a Nandroid backup of the current ROM. So, in case you’re not comfortable with what you have installed, you can make a turn back to your choice of ROM.
- Install Android SDK, for ADB commands.
Instructions
- Connect your Moto G to the PC via USB cable in MTP mode and transfer the ROM and GApps zip files to the root directory of your device’s storage.
- Open a command prompt window and type in the following command:
adb reboot recovery
- Or, you can also use the physical button combination if you’re aware of it.
- You can disconnect the device now.
- Go to Wipe > Advanced Wipe.
- Check the Dalvik Cache, System, Data and Cache boxes. Now, swipe the button on the bottom to start the wiping process.
- When done, go back to the TWRP main screen.
- Tap on Install, browse and select the ROM zip.
- Tap on Add More Zips and select the GApps zip too.
- Once both the zips are selected, swipe the button to start the flashing process.
- Tap on Reboot System when the process is done.
Tell us about your experience of Android Lollipop 5.1 on Moto G. If you would want to use root apps and Xposed framework, you can simply root this AOSP ROM using Chainfire’s SuperSU. Your views are valuable to us and will help us build a better community.


Hi… I have a rooted Moto G CDMA (XT 1042) device. Is Android 5.1 or 6.0 available for this device?
By flashing this AOSP, would I receive future updates to Android? Like OTA?
No, you’ll get update from the ROM itself.