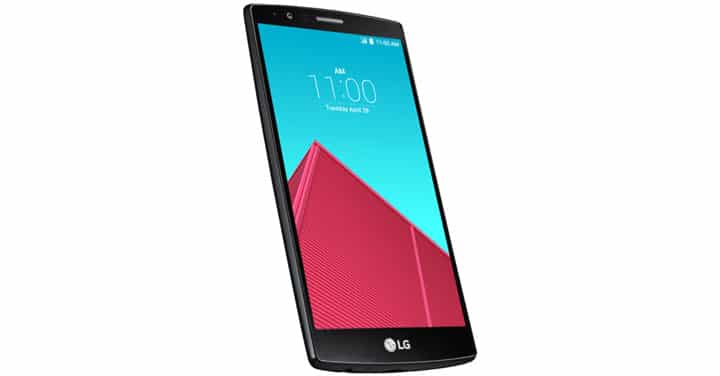
The LG G4 was the first device to have received Android 6.0 Marshmallow update following the Nexus series. Although it was a couple of months ago, the manufacturer has released yet another update it’s firmware taking it to build 20B from 20A. Now the developers have been successfully on rooting the device on this firmware. Using the autoroot kernel you can easily gain root access on your LG G4 H815. This root kernel comes with the SuperSU package along with busybox and init.d support.
cile381, an XDA forum member has released an autoroot kernel that can root the LG G4 in no time on both, the 20A and the 20B Marshmallow firmware. The kernel has not been tweaked and does not contain any modifications. It is a recovery flashable zip. Hence, in order to flash this all you need is a TWRP recovery on your G4. However, note that this kernel supports the international version of the G4 with model no. H815.
So if you are on Android 6.0 firmware, then flash the autoroot kernel via custom recovery like TWRP to gain root access.
Warning: Warranty may be void if you root or install TWRP on your device. We, at DroidViews, won’t be liable for any damage to your device whatsoever. We won’t be held responsible if you brick your device. Reader’s discretion is advised.
Download Section
For Stock 20A firmware — Download | File: STOCK-20a-ROOTED.zip
For Stock 20B firmware — Download | File: LG-H815-20b-stock_rooted.zip
Prerequisites
- Make sure you have TWRP installed on your device. Refer to our TWRP installation tutorials for the device.
- Install USB Drivers on your computer in order to detect the device and transfer the SuperSU file to it.
- Fully charge your device.
How to Root LG G4 H815 on Marshmallow Firmware
- Download the autoroot kernel from the download section.
- Now transfer the zip files into your device’s internal storage. Place the zip file where you can easily locate it.
- Now reboot into Custom Recovery (like TWRP). To boot into TWRP, first turn off your device and then press and hold volume down and power keys at the same time.
- Although this is optional, it is recommended that you perform a nandroid backup. To backup your ROM, tap on backup option in TWRP and select all the partitions:System, Data, Boot, Recovery, EFS and swipe right where appropriate, to backup.
- Now return to TWRP home screen and tap on Wipe and factory reset it by swiping the confirmation option at the bottom.
- Now go back to the TWRP main menu or home screen and tap on the install option. Navigate to the autoroot file and select it.
- Swipe the confirmation button to proceed with the installation.
- Once installed, reboot to system.
Once you reboot, you can enjoy root access on your Android device with latest firmware. Verify root using the root checker app.
[googleplay url=”https://play.google.com/store/apps/details?id=com.joeykrim.rootcheck”/]For queries, comment down below. Like and share us on social platforms. If you need help with other devices, let us know.


Join The Discussion: