Google recently Introduced the option to change your DPI density right from your settings app by using a simple slider with Large, Medium and Small values. If your phone is running the latest version of Android Nougat, you can find this option in your settings app under the Display option.
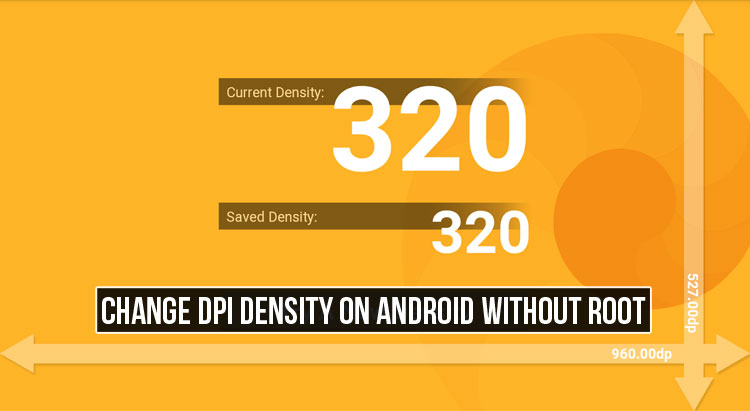
DPI is Display Per Inch or Dots Per Inch. The value you set as your DPI density essentially determines how many pixels would be displayed per inch on your phone’s display. For instance, if you set the default value as 400, then 400 pixels will be displayed per inch on your phone.
A value ideal for your phone will be set as DPI by default. However, you can modify it to fit according to your needs. If you have a problem viewing the contents on your screen, then you can change the DPI value to a number smaller than the default value till you are comfortable viewing the contents on your screen.
DPI value could also be increased to fit more contents on your screen. If you change the DPI from 400 to 420, then your display will be adjusted to fit more contents than before. Essentially, a higher DPI value means the content on your screen gets bigger and a lower value means it gets smaller.


Also read: Enable Quick Reply from Lockscreen on Samsung Devices Running Nougat
Here is how to change the DPI Density value on your Android phone. Don’t worry, this method works even if your device is not rooted.
Method 1:
This is the most simple method but it only works on Android phones running the latest version of Android Nougat and above. As mentioned earlier, you can change the DPI value directly from your system settings.
Just go to Settings->Display->Display Size and use the slider to set a value you are comfortable with. The value will be changed and changes will be applied instantly.
Method 2:
If you are not comfortable with any of the default values provided by the system, then you can try this method to enter specific values to the DPI density. This method also only works on Android phones running the latest version of Android Nougat and above.
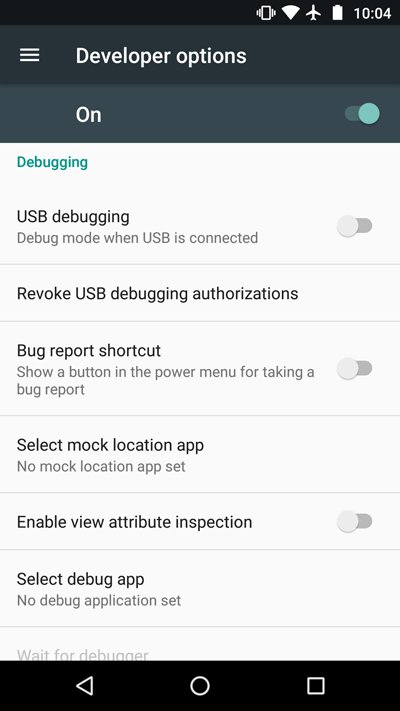
For this, you have to enable the developer options on your device first. To do this, go to Settings-> About Phone-> Build Number and then tap on the build number option repeatedly, until you get a message saying, “Developer options are already enabled.”
Now go back to the main settings menu and open the Developer options. Scroll till the end where you will find an option called “Smallest width”.
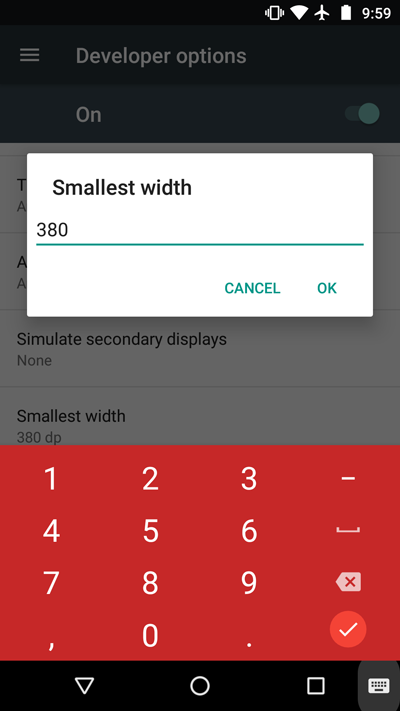
Open the option and enter a smaller value than the Default DPI value to if you want the contents to be bigger and a larger value if you want them to be smaller. You can try entering any number of values till you are satisfied with the output.
Don’t miss: How to Enable Grayscale Mode on Any Android
Method 3:
If you are an unlucky user who has not yet received the latest version of Android Nougat 7.0 and are still running on an older version of Android, then this method is for you.
This is slightly complicated than the above methods and it requires you to connect your phone to your computer using the USB cable.
First, enable the USB Debugging option from the Developer options menu. You can find the steps to enable the developer options from the above method. Once you have enabled the USB Debugging option, connect your phone to your PC using the USB Cable.
You will now receive a notification on your phone saying that USB Debugging is enabled. Now you have to install the ADB drivers on your PC to initiate a communication between your phone and your PC.
You can download the ADB drivers from here. Just open the setup file and enter ‘Y’ on the setup interface to install the drivers on your PC. The entire process will take less than a minute.
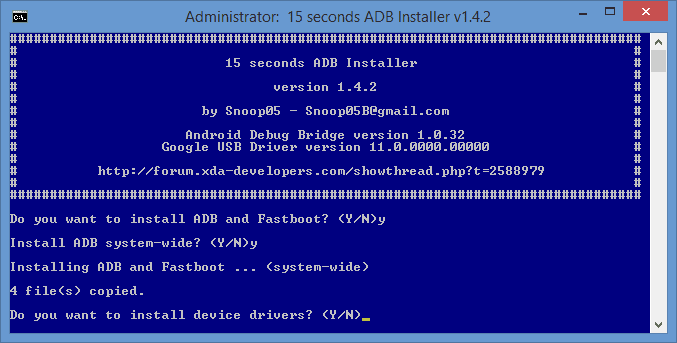
Once the drivers are installed, open the installation folder and then open a command window in that location. You can do so by holding the right shift button and selecting the Open command window here option from the menu.

Once the command window is opened, enter the command, adb devices to ensure that your phone is connected properly. If the commands return the name of your device, then everything is fine.
Must read: Enjoy Desktop-Like Multi-Tasking Experience on Android without Root
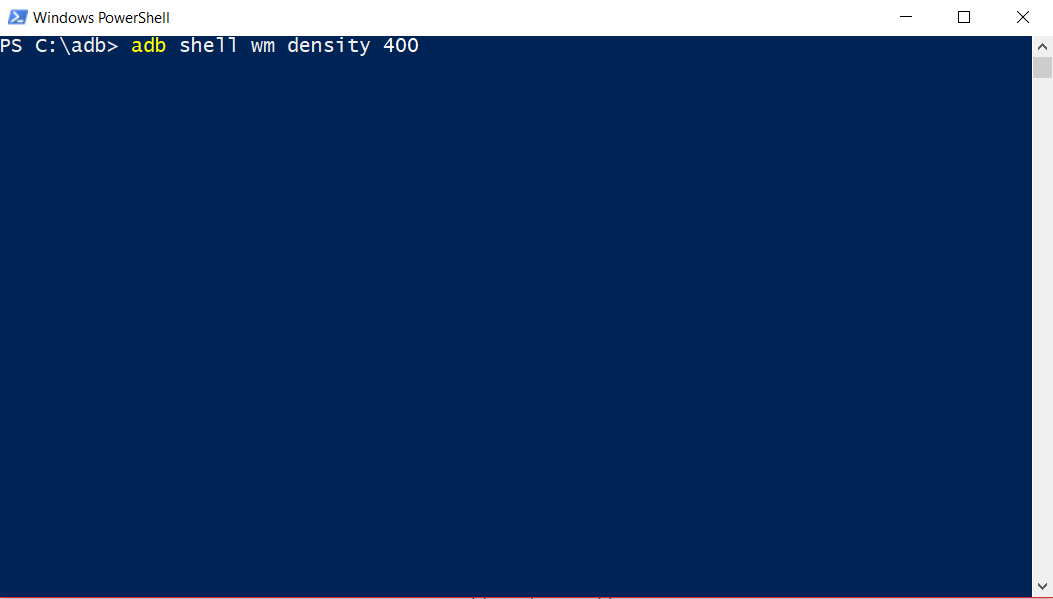
Now, enter the following command, adb shell wm density xxx on the command interface. Replace the ‘xxx’ with the value you want to set as the DPI Density.
That’s it. You have successfully changed the DPI value on your Android device. Let us know in the comments below if you have any doubts regarding any of the above-mentioned methods.


Join The Discussion: