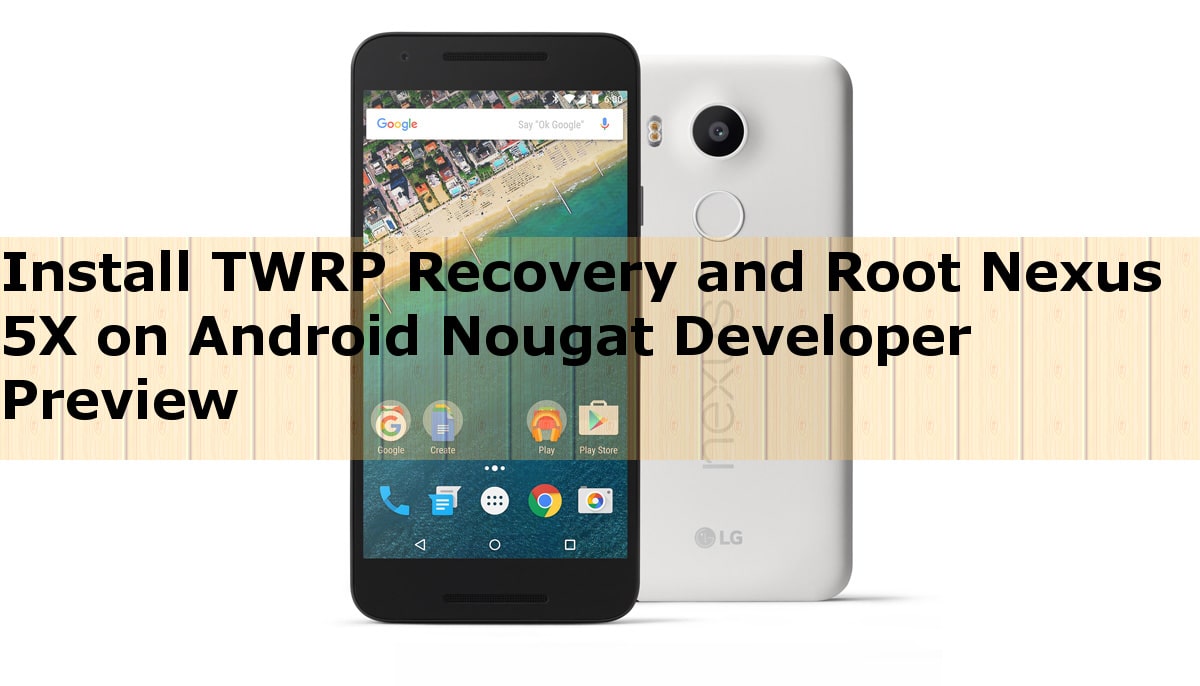
It has been a few weeks since Google released its first smartphones The ‘Pixel X’ and The ‘Pixel XL’. Both the phones have lived up to our expectations. They come with a polished version of Android 7.1 and has a lot of cool features now often being called as ‘Pixel features’ which was only limited to the above two smartphones for now until Google announced the preview version of Android N 7.1 Nougat for the older devices, Nexus 5X, 6P and Pixel C. Google calls this release as the ‘beta quality’.
If you guys are here, then it must be because you have flashed the ROM on your nexus 5X and now wanna root it to get the most out of it. So without any further delay, let’s get started.
Prerequisites
- Create a NANDroid backup of all your important data.
- The device’s bootloader must be unlocked.
- Your Nexus 5X should be updated to the NPF10C Android 7.1.
- Download and install the USB Drivers for Nexus on your PC.
- Enable USB debugging option on your device.
- Make sure it has a battery backup of more than 70%.
- TWRP for your Nexus 5x.
- SuperSU v2.78.zip for your Nexus 5x on PC.
- Download Android SDK and install it and set it up with drivers and platform-tools in SDK.
- Finally, download the fastboot files (Download Links for fastboot files are provided at the end of the post).
Steps to Install TWRP and Root Nexus 5X on Android Nougat
- Extract the downloaded fastboot file in android-sdk-windows\platform-tools directory on your PC. Create the directory if it’s not there.
- Connect your Nexus 5X to your PC via USB.
- Copy The SuperSU file in your device’s SD card.
- Turn Off Your Device.
- Enter the bootloader mode (Hold Volume Down + Power keys).
- Go to android-sdk-windows\platform-tools directory and open Command Prompt(Shift + Right Click > Open Command Prompt).
- Type fastboot flash recovery twrp-3.0.2-2-bullhead.img
- Enter The recovery mode using the bootloader after the process is complete.
- In the recovery mode, locate the SuperSU v2.78.zip file you copied earlier.
- Select it and confirm the installation process.
- After completing, go back to the main screen of TWRP and then reboot.
There you go, you just rooted your Nexus 5X without much of a hassle. You can verify the root using root checker app. First boot may take a while, therefore have patience. Do let me know by commenting below about how it went for you.


Join The Discussion: