With more than 85% share in the Smartphone world, Android is the world’s most popular Mobile Operating system. The Android frenzy is at its peak stage with the release of innumerable devices and countless apps. The Android users try out various apps, games and share their views regarding their experience. Most of them share the screenshots of the apps, games to reflect their views, which is very easy considering the native screenshot function in the Android. Just press and hold the Power and Volume Down button on your device, your screenshot will be ready in a fraction of a second.
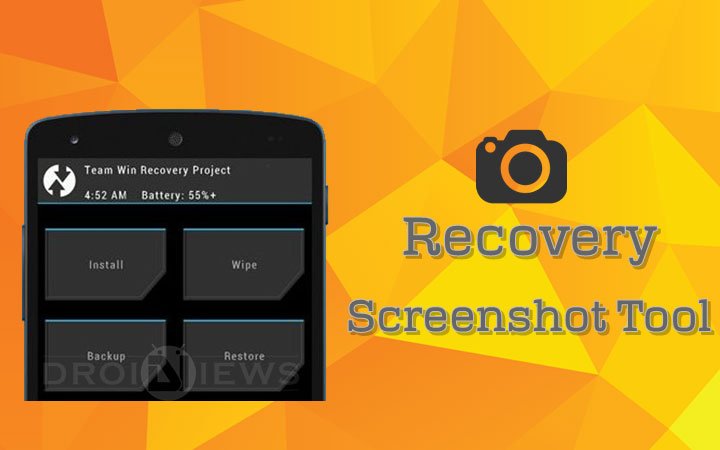
But how can take a screenshot while in recovery where the Android OS is still not booted. The recovery is a special image which can be optionally booted when we want to do some advanced operations on our device. Many custom recoveries like CWM, TWRP, Philz recovery are available in the market and offers great functionality. But none of them provide an option to take a screenshot in the recovery mode so that users can share their experience and problems. But you can now take the screenshots in recovery mode using the wonderful tool provided by makers_mark of XDA forums.
Before getting on with the guide, make sure that your device is able to communicate with your Windows PC properly. If not install proper device drivers on your PC before running the tool.
Take Screenshots in CWM/ TWRP Recovery
- Download the Recovery Screenshot tool and extract it in your PC → Click Here to Download
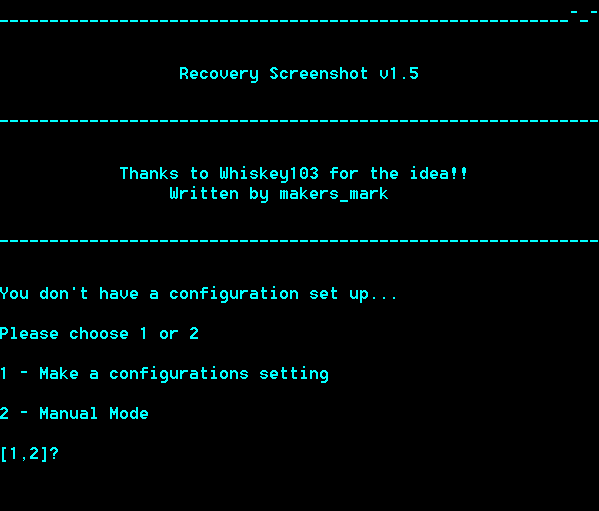
- You will get a bunch of files in the folder, click the RUNrs.bat file to start the tool. You will get a screen similar to this:
- Reboot your device to the recovery mode and connect it to the PC and make sure it is detected by your Computer.
- Now press 1 to Make a configuration Setting. The tool will ask you for the device resolution, enter the width and height in pixels where the width is the smaller dimension.
- Once you have entered the resolution, the tool pulls different pictures from the recovery, of which one is proper. You can find all the pictures in the Pixel_formats folder.
- If you see the screenshot of the recovery, press 1 and enter the color format to complete the configuration.
- Once the configuration is completed, you can see the settings.cfg in the Tool folder.
- Now you can get the screenshot of the recovery, by pressing the choice number to get the top or bottom frame buffers.

- Once completed, you can find all your screenshots in a separate folder that is created in the tool directory.
That’s it. You can now take the screenshots in the recovery and share it with the world.
Hi I got an error
Adb is not properly connected.
Try “Safely Removing” your device from your computer
Then unplug your usb cable, and reinsert it.
I installed driver properly and it also showed in device manager. plz help
working great
worked great (screencapped TWRP on a Nexus 6). thanks to makers_mark, and the author for instructions.
Thanks for your feedback!
It’s not working. Done with installing Samsung USB drivers, but still device not found when booting into Recovery mode. I’am using CWM 6.0.3.6. Pliz help. Thanks.