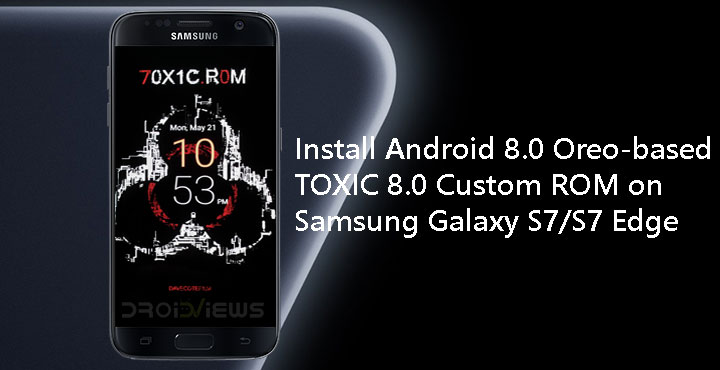
Samsung Galaxy flagships are the most popular Android devices released each year without a doubt. Whether you like the devices or not is a matter of personal preference. The Samsung Galaxy S7 and S7 Edge were no different, in their time. They’re still pretty powerful devices in their own right. The devices have already received the official Android 8.0 Oreo updates. But popular devices, in general, have better third-party developer support. This means many custom ROMs and kernels and one such ROM for the Galaxy S7 (and S7 Edge) is 70X1C 8.0 (read Toxic 8.0).
Developed by davecotefilm, Toxic 8.0 “is a conglomeration of the best parts of Android 7.0 and 8.0.” More precisely, it still uses the framework-res of Android 7.0 despite being a ROM based on Android 8.0 Oreo. According to the developer, this results in faster performance and longer battery life. The ROM is meant to be installed only on SM-G9350 & SM-G9300. To install a custom ROM your device needs to have an unlocked bootloader and a custom recovery such as TWRP. You can find the appropriate TWRP image in the download section below as well as the instructions.

Features
- Based on Android Oreo
- Customized Toxic Settings (nav bar, button, battery, and every other kind of mod)
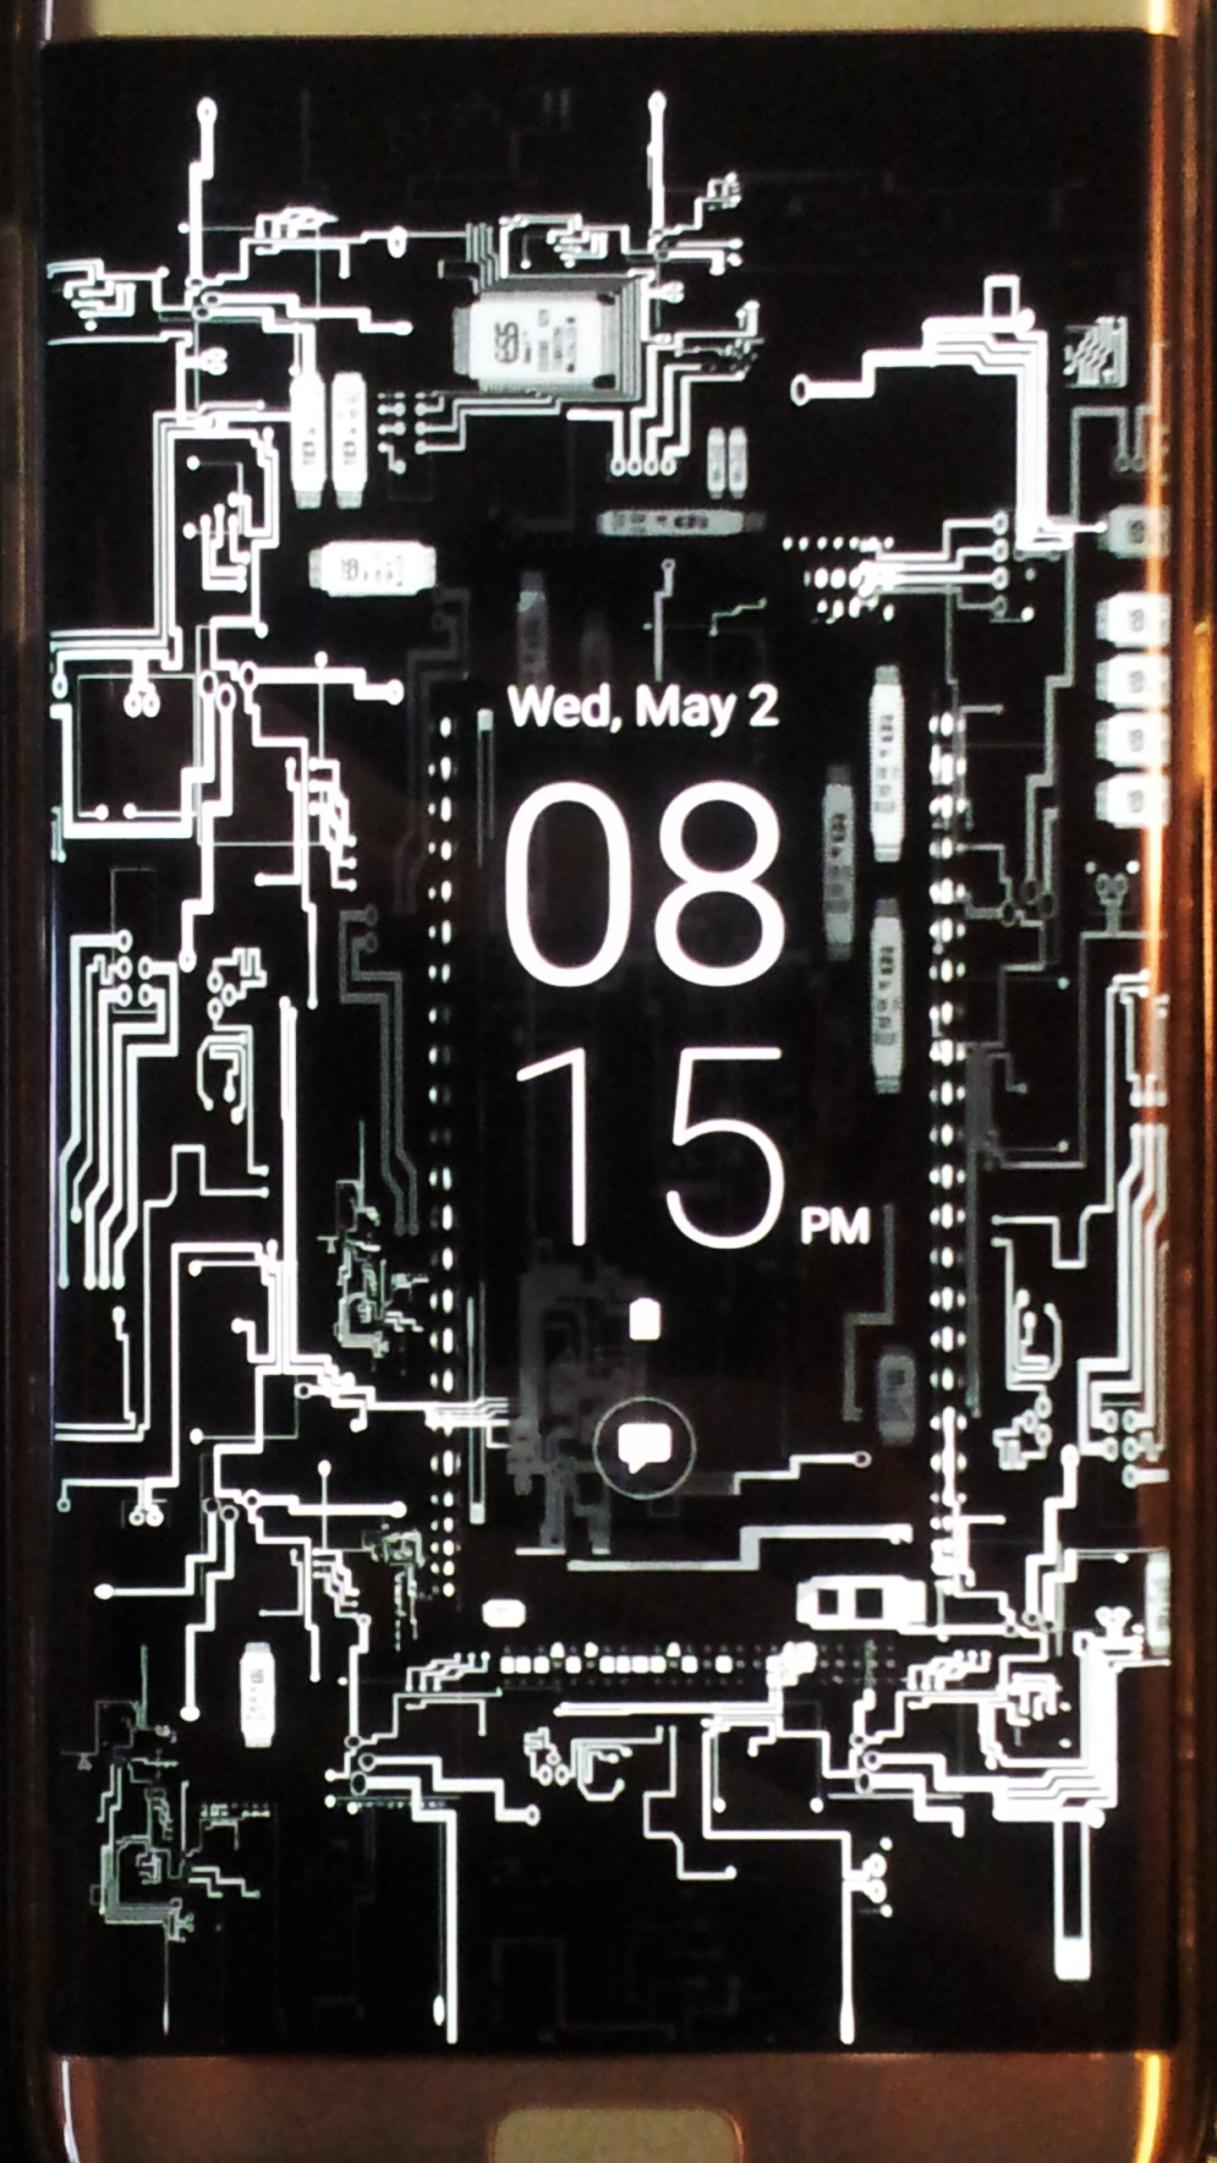
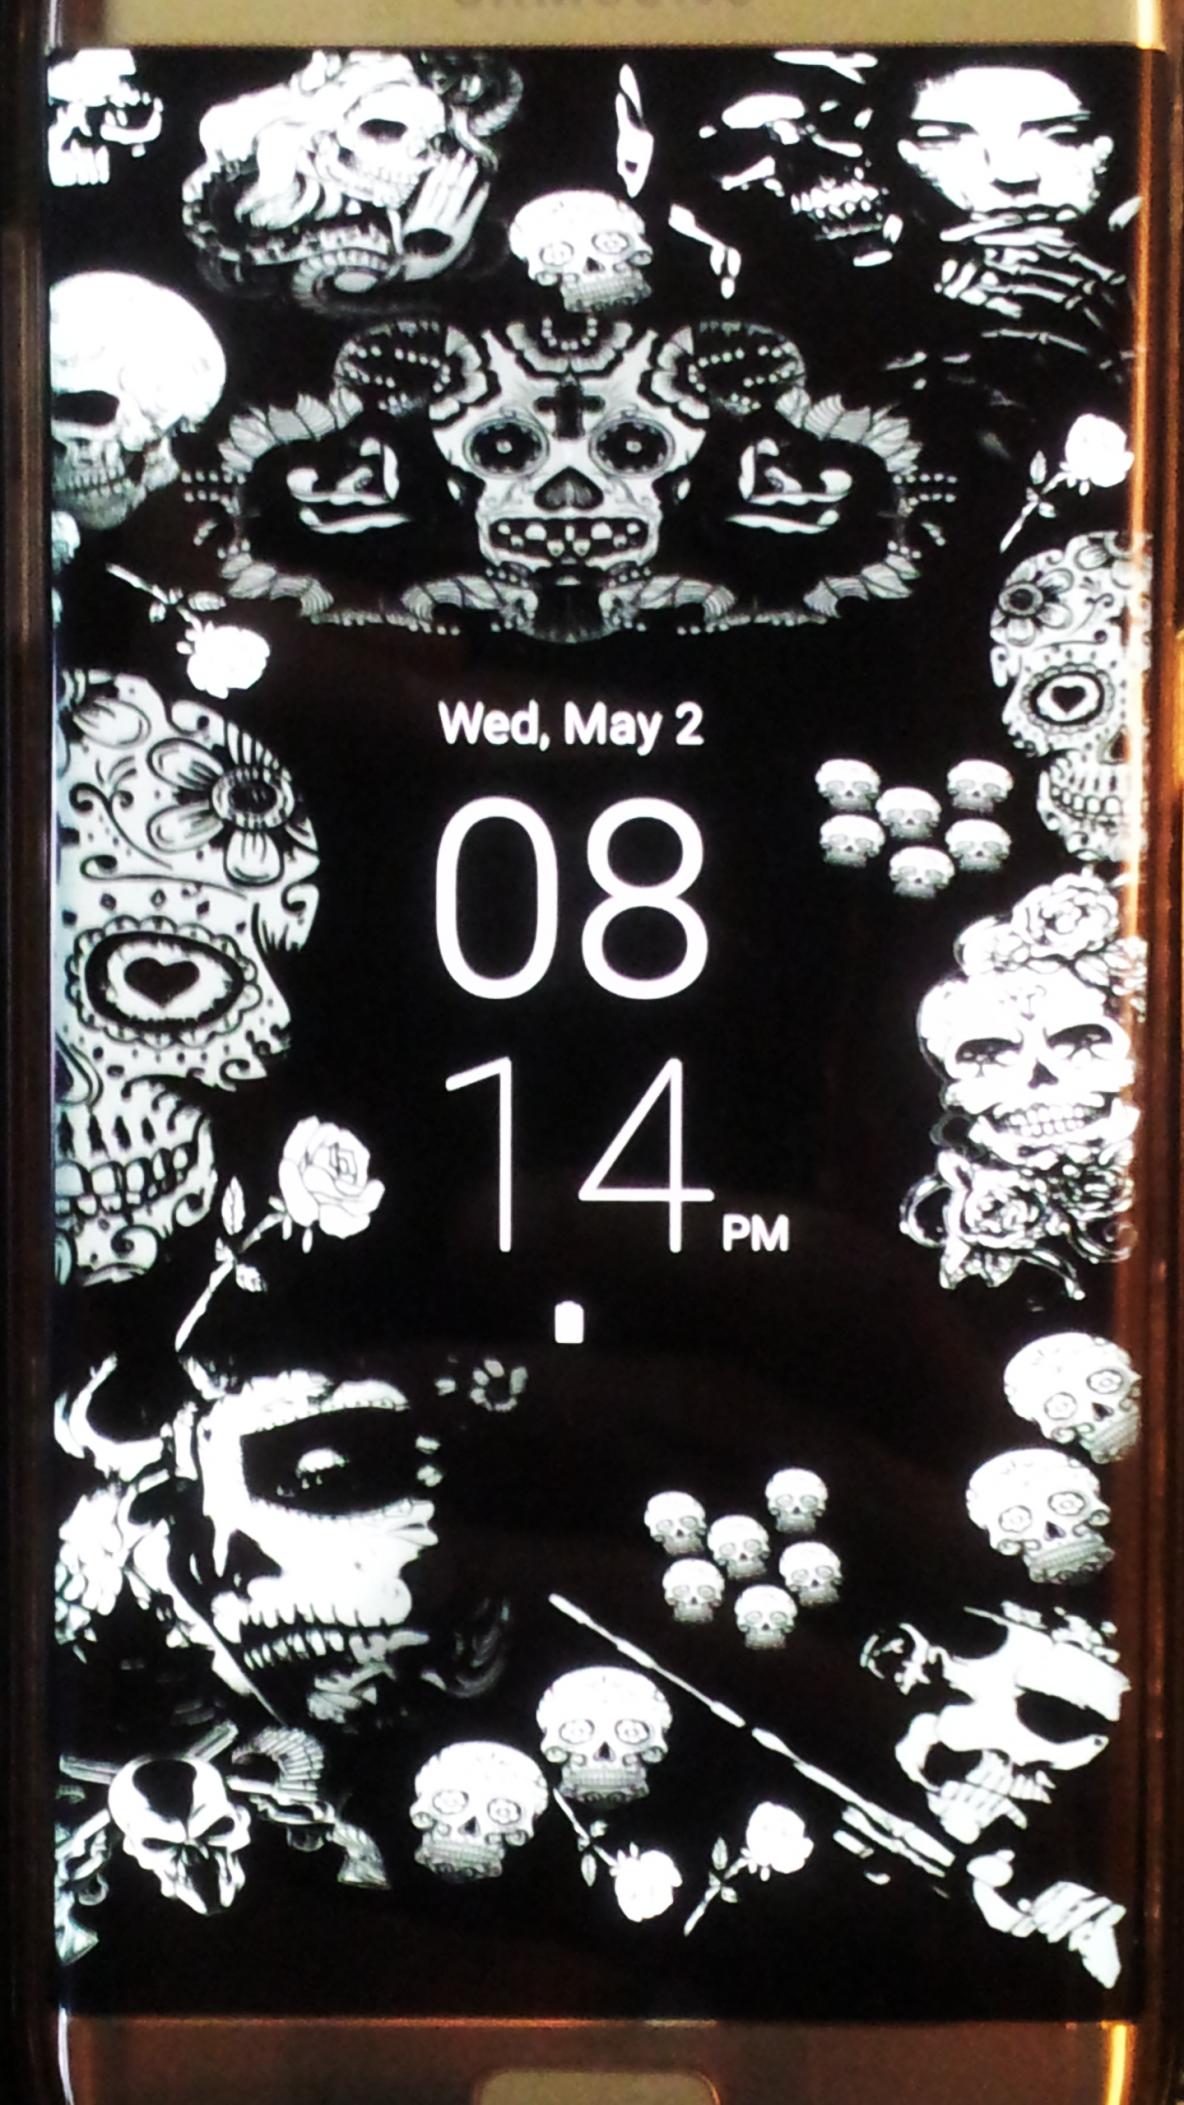
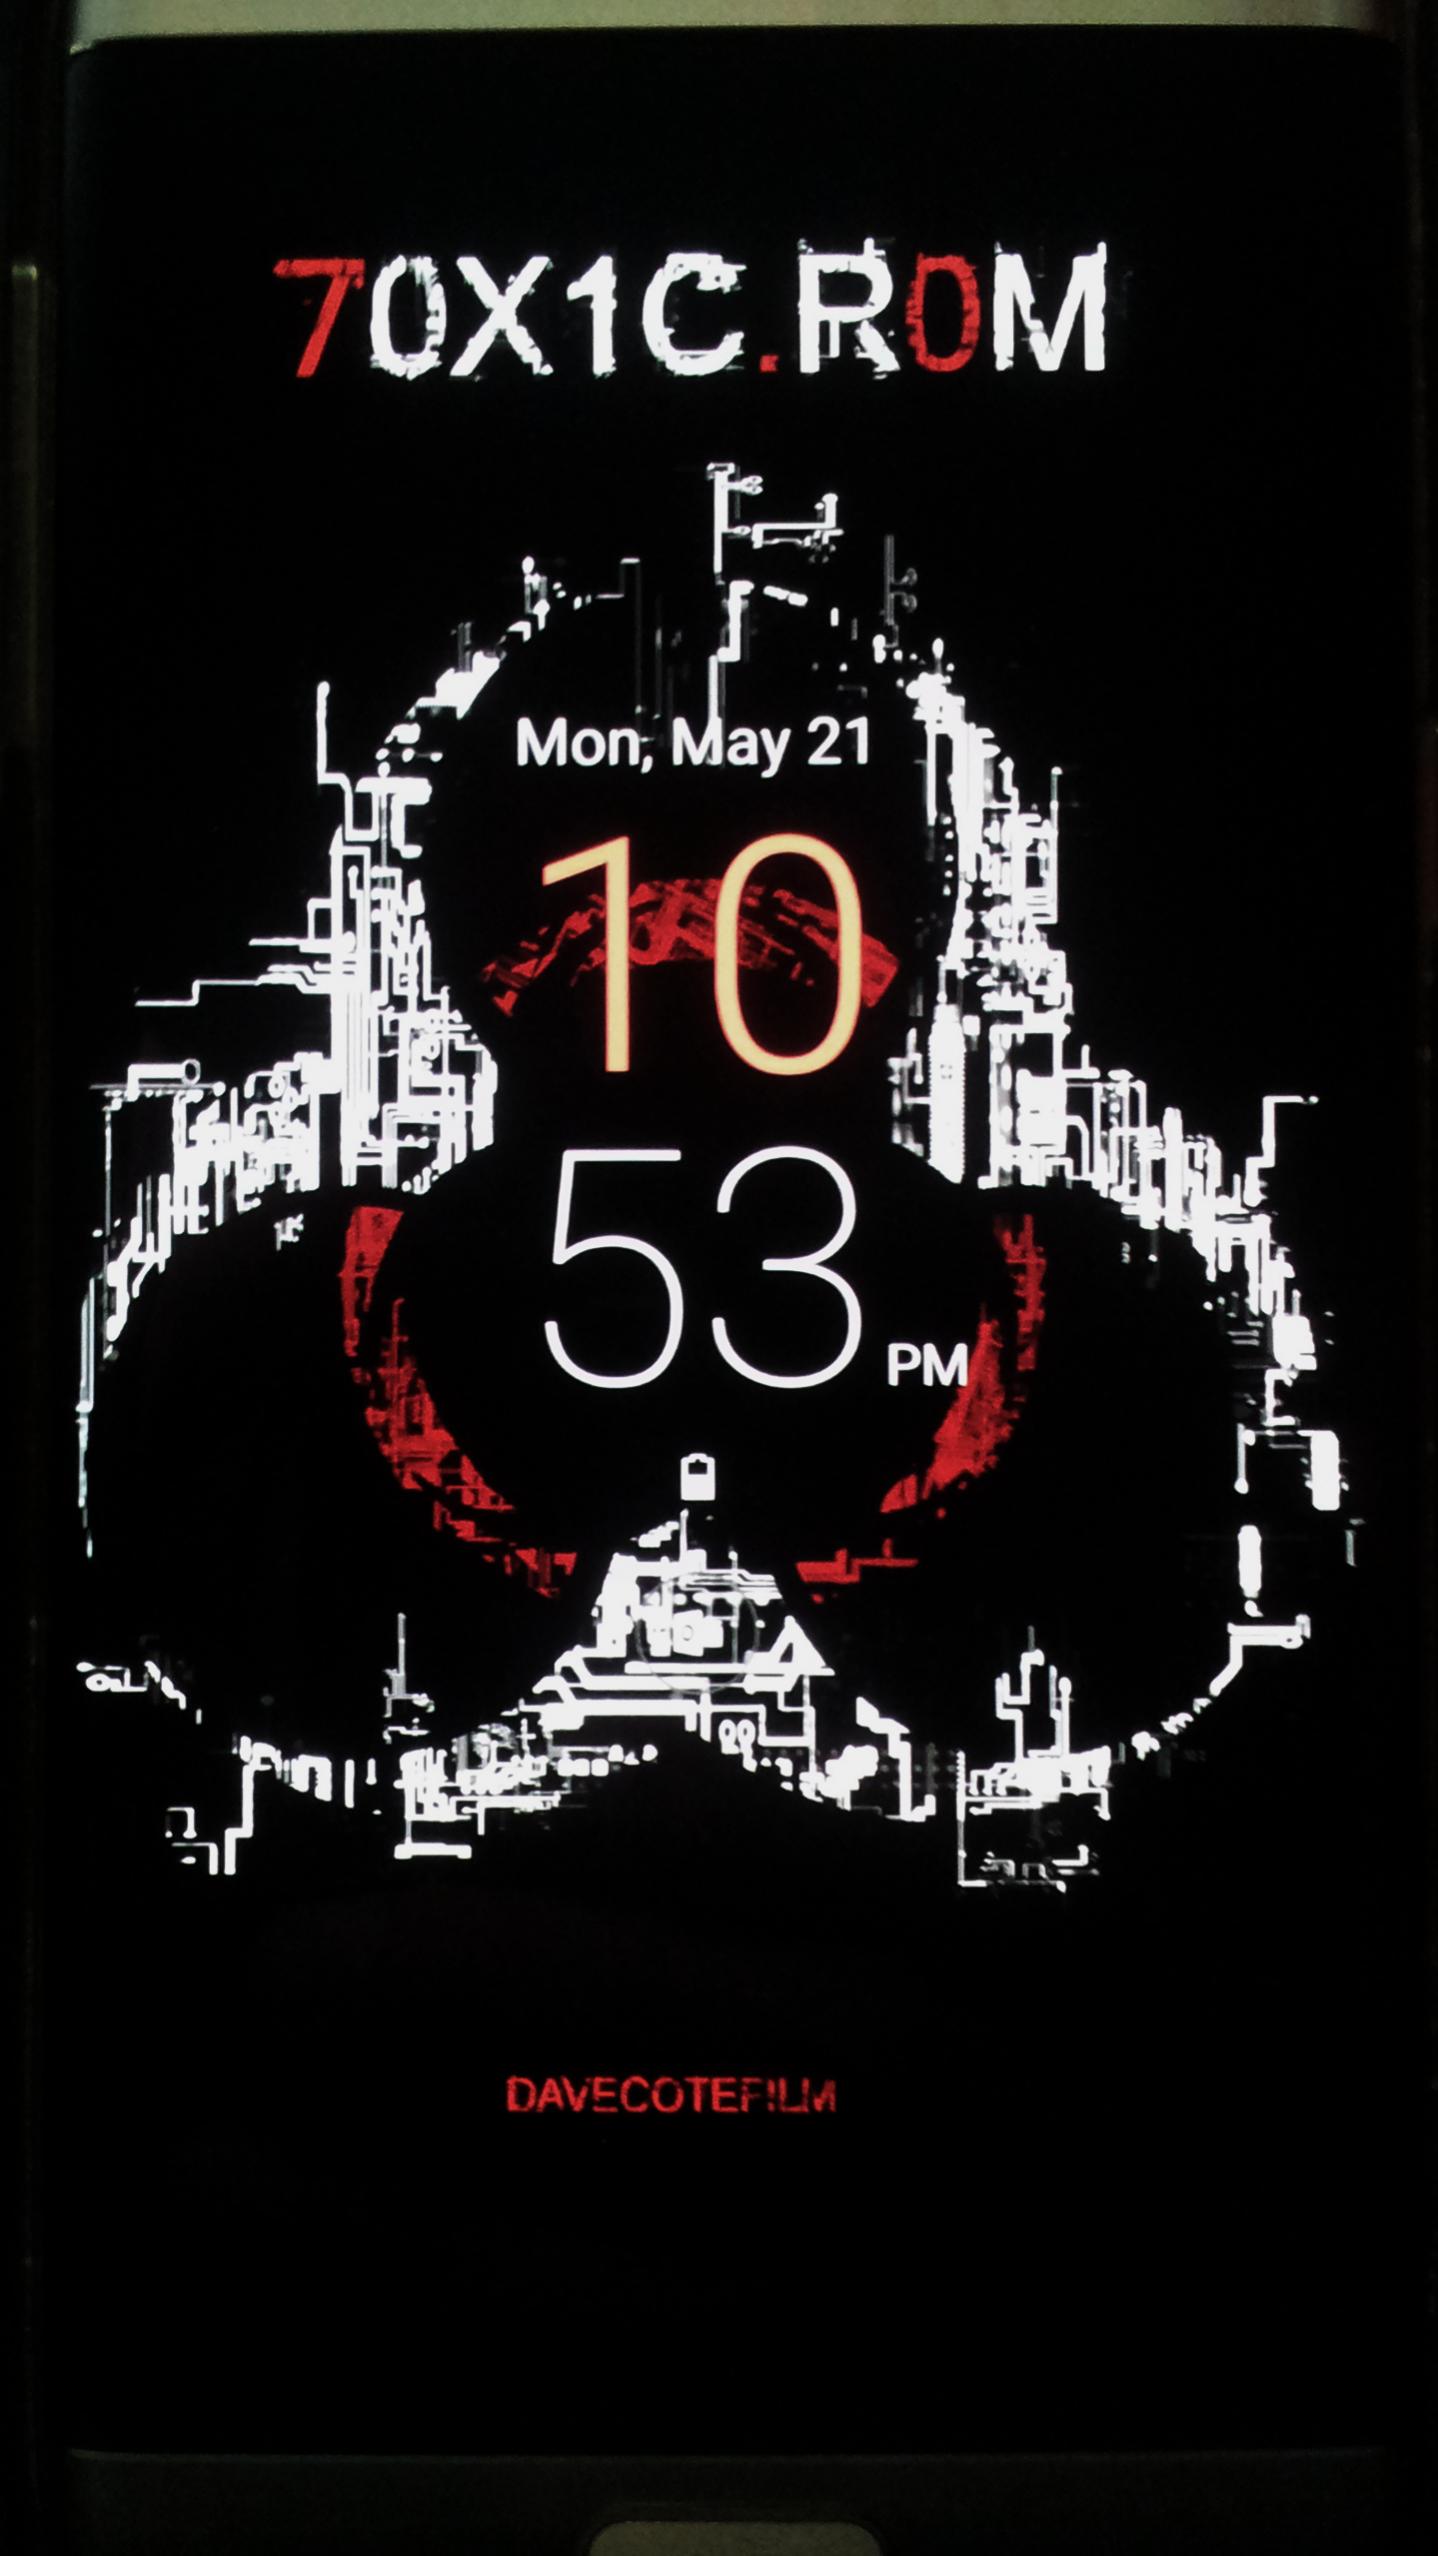
- Full-screen AOD with clock and Toxic background
- Optimized battery life
- Optimized performance
Downloads
- Odin files:
- ROM: TOXICG9300G9350OREOV70X1C.zip
- Xposed:
- TWRP
- Galaxy S7: twrp-3.1.0-0-herolte.img.tar
- Galaxy S7 Edge: twrp-3.1.0-0-hero2lte.img.tar
- ODIN: Odin3_v3.11.1.zip
How to install TWRP on Samsung Galaxy S7/S7 Edge
- On your Galaxy S7/S7 Edge, go to Settings > About device > Software info and tap Build number 7 times to enable Developer options. Now enable OEM unlocking and USB debugging in Developer options.
- Download Odin and extract the downloaded Odin zip file to your desktop.
- Now turn off your Galaxy S7 and press and hold the Volume Down + Home + Power keys at the same time for 2-3 seconds to boot your phone into the Download mode. Release the keys as soon as you see a blue screen with exclamation sign and press the Volume Up key.
- When your phone gets into the Download/Odin mode, open the Odin folder and launch the Odin v3.11.1.exe as administrator.
- Now connect your Galaxy S7 to your computer using a USB cable.
- The ID:COM port on Odin will be highlighted in blue as soon as your device is detected.
- Click the AP button in Odin and add the downloaded TWRP image file to it.
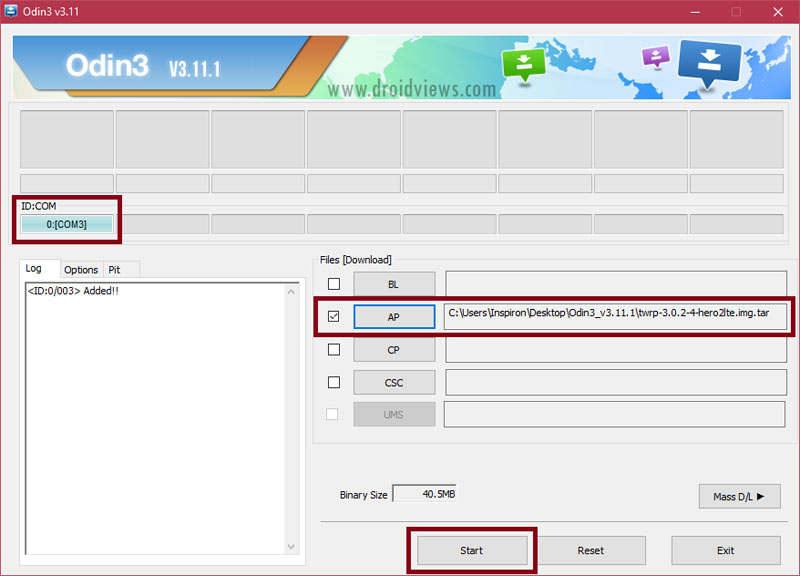
- Then Click the Options tab in Odin and uncheck Auto-Reboot.
- Now click the Start button to trigger TWRP installation.
- When TWRP is installed and you get PASS! message in Odin. Disconnect the USB cable if you wish to.
How to install Oreo-based TOXIC 8.0 ROM on Samsung Galaxy S7/ S7 Edge
- Download the BL and CP files linked in the download section above.
- On ODIN, click on the BL button and select the BL file. Similarly, click on the CP button and select the CP file. As before, make sure only F.Reset Time is checked under the Options tab.
- Click Start to flash the files. Once the files are flashed, disconnect your phone.
- Now press and hold the Volume Down + Home + Power buttons at the same time and immediately swap to Volume Up as soon as the screen goes blank/black while still pressing the Home and Power keys. Keep the 3 keys pressed until you get into TWRP Recovery.
- When your phone is in recovery mode, connect it to your PC with a USB cable and transfer the downloaded ROM file to your device.
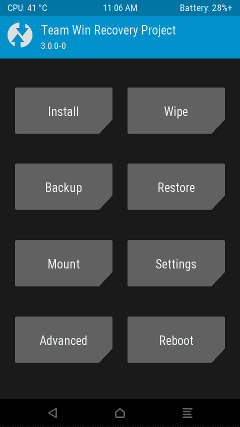
- In the recovery, select Install and then select the downloaded ROM zip. Swipe at the bottom to flash it.
- Reboot your device once the ROM is flashed.
Note
- Even though the ROM is based on Android 8.0 Oreo, it uses the framework-res APK of Android Nougat. Therefore, the Xposed version linked in the download section is for Android 7.0 Nougat as well. Do not try to install Xposed for Android Oreo from elsewhere.
- It’s possible that you may face Google services crashing errors. To solve this, go to Settings > Apps > All and then reset the default app preferences. After this, grant the LOCATION permission to Google Services.
- Do not connect to WiFi On first boot.
- If you want to keep the Always On Display, turn off auto update in Galaxy Apps.


Join The Discussion: