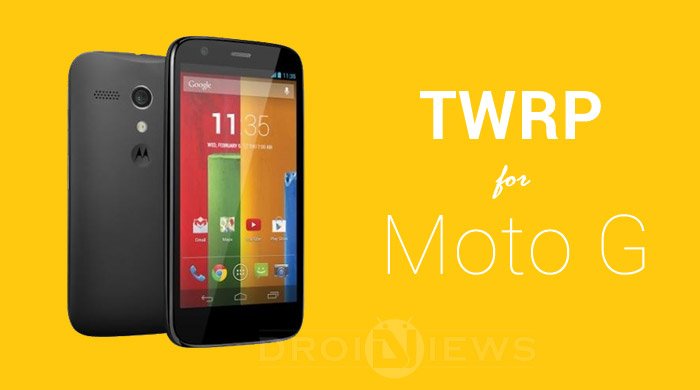
Motorola had a great comeback this year with the Moto G and Moto E which are tagged at an affordable price but delivers outstanding performance. The Original Moto G which was launched in the last quarter of 2013 was bugged with a few issues like the below-average camera and the limited storage capacity. Motorola solved these issues in the 2nd generation Moto devices and also included several bug fixes and improvements without hiking the price tag. Since the Moto G 2014 is an entirely new device compared to the older one, the advanced users have to start from starch in rooting the device to install custom ROMs.
After rooting, installing a custom recovery is the important step for tinkering. A custom recovery ensures safety by allowing you to take backups of your device and restore them when you run into trouble. TWRP recovery is a custom recovery built with ease of use and customization in mind. The fully touch driven user interface is pretty feasible and easy to work on. The new Moto G got the TWRP recovery as an unofficial build but it is functional like the official one. Follow the step-by-step guide to install TWRP recovery on your Moto G 2014.
Warning
This Guide is intended only for the 2nd generation Moto G, not for any other device of Motorola. Be extra cautious when you choose the recovery images as flashing wrong ones might result in a bricked device.
Flashing recovery will void your device warranty either temporarily or permanently. You alone are responsible for any consequences that might occur during the process. DroidViews or any of its community members shall not be held responsible for any damage to your device.
Prepare Your Device
- Charge your Moto G above 60% battery level to avoid shutdowns during the process.
- Backup your device storage, Contacts, SMS etc. using Google Sync service or any third-party app.
- Either setup ADB and Fastboot on your computer, or download the fastboot file and unzip it → Click Here
- Install Motorola USB Drivers on your computer.
- Enable USB Debugging on your Moto G. If you don’t know how to do it, follow the instructions given here.
- Unlock Moto G 2014 bootloader using Motorola website
Install TWRP Recovery on Moto G 2014
- Download the recovery image and rename it to recovery.img → TWRP_2.8.0.1_Titan_v2.img
- Boot the device into bootloader mode by switching off the device and hold power+volume down button and release after you see a warning symbol.
- Connect your Moto G to the PC using a USB cable and make sure it is detected by the PC.
- Open the command prompt in the fastboot folder by right-clicking in the empty space while holding the shift button, then click Open command window here. Then execute the following commands
fastboot flash recovery recovery.img
- Reboot your device using the following command:
fastboot reboot
That’s all, you now have the TWRP recovery on the 2nd generation Moto G.


Join The Discussion: