
Nowadays, life without a smartphone is next to impossible. From commuting between places to paying our bills, almost everything is done on our Android device. Now, using our Android smartphones for such long durations will have an effect on the battery life. It may result in low battery performance and duration. The solution to this problem is to calibrate your battery. In this article, we will guide you on how to calibrate battery on Android with or without root. But before that, we will explain what battery calibration is.
What is Battery Calibration?
There is a feature in Android OS called Battery Stats. Battery Stats generally keeps track of the battery capacity, and determine whether it is empty or full. Many times, it becomes corrupted and displays data which isn’t real which causes the phone to turn off before reaching 0%. When we do battery calibration, we are actually getting the Android operating system to correct this information so that we see the actual battery level of our smartphone.
Now, the next thing which may cross your mind is how to know why your battery performance has decreased. Whether the battery is the cause or is it Android system’s calibration.
Before doing battery calibration, we suggest you to check if your battery is okay. If your Android device has a removable battery, then take out the battery and inspect it. Look for swelled up regions, bulges or leaks. If your Android device has a non-removable battery, then also keep an eye for similar occurrences. Keep your device on a table. If it doesn’t sit flat, it is also a sign of a swollen battery.
After inspecting the battery, if you are satisfied that it is not the problem, then move ahead in this tutorial for calibrating your battery. If the battery is the cause of the problem, then we advise you to replace your battery with a new one. Always go for original or reliable third-party batteries.

Calibrate Battery on Android Device without Root
One of the simplest ways to recalibrate your battery is by using “fully charge and discharge” method. Follow the below steps to calibrate battery on Android Device without root access:
- Discharge your Android Phone fully until it shuts down automatically.
- Switch it on and let it switch off automatically.
- Now, plug your device into a charger and let it charge till 100% without switching it on.
- Take out the charger and switch on your device. Most probably the battery indicator won’t say 100%, so again plug your charger without turning off the device and continue charging till it says 100%.
- Unplug your device and restart it. Check the battery percentage. If it is not 100%, then again plug it to the charger until it becomes 100%.
- Perform this cycle as many times as it is required until you start your device and it says 100% without the need to charge.
- Again discharge your device to 0% and let it switch off automatically.
- Charge your device one more time without switching it on.
That’s it! You have successfully calibrated battery on your Android device without root access. Remember, that it is recommended not to apply this process more than once in 3 months.
Read the latest tutorial: Calibrate Battery on Android for Longer Battery Life
Calibrate Battery on Android Device (Root)
This method is almost similar to the above method with the only difference is an added step of a root-enabled app. Follow the below method to calibrate battery on Android device with root access:
- Discharge your Android phone fully until it shuts down automatically.
- Switch it on and let it switch off automatically.
- Now, plug your device into a charger and let it charge till 100% without switching it on.
- Take out the charger and switch on your device. Most probably the battery indicator won’t say 100%, so again plug your charger without turning off the device and continue charging till it says 100%.
- Unplug your device and restart it. Check the battery percentage. If it is not 100%, then again plug it to the charger until it becomes 100%.
- Perform this cycle as many times as it is required until you start your device and it says 100% without the need to charge.
- Install the Advanced Battery Calibrator app from the Google Play store.[googleplay url=”https://play.google.com/store/apps/details?id=com.newagetools.batcalibra”/]
- Make sure your device is charged to 100%. If it is not, then plug it into the charger. Now, restart your device.
- After restarting, launch the Advanced Battery Calibrator app and calibrate your battery.
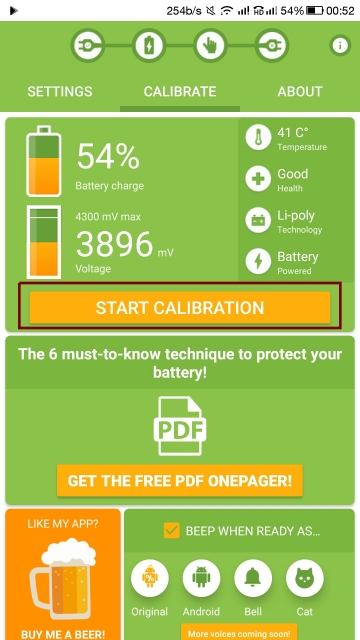
Calibrate battery with Battery Calibration app - After calibrating the battery, discharge your Android device to 0% and let your device switch off automatically.
- Charge the device once more while it is switched off.
That’s it! You have successfully calibrated battery on your Android device with root access.
Read next: Remotely Access an Android Device from Another Android or PC


Join The Discussion: