Asus has been making some really great phones lately. The Asus Zenfone 6 is the successor to last year’s Asus Zenfone 5Z which was pretty popular. The Zenfone 6 features a full-screen display and a unique approach to the camera setup. It’s not too farfetched to think it will be a popular device as well. It’s only proven by the fact that you can now already root Asus Zenfone 6 and Install TWRP on it.
Warning
If you root your Asus Zenfone 6 it will void your warranty. Besides, flashing a custom recovery and using it to flash third-party mods can be risky. You may end up bricking your device. Even if you follow all the steps mentioned below correctly, there is still a chance that things may go south for you. Make sure you know what you’re doing and do everything at your own risk. DroidViews or anyone else cannot be held responsible under such circumstances.
Requirements
- First of all, you’ll need an Asus Zenfone 6 with an unlocked bootloader.
- You need Google’s platform-tools from the Android SDK on your PC because these allow you to use ADB and fastboot to perform various operations on your Android device. Download the latest SDK platform-tools. for Windows, Mac, and Linux.
- Enable USB debugging and OEM Unlocking from the Developer Options.
- You’ll need to have a minimum of 50% of the battery on your device so that you can be sure your device does not run out of juice during the process.
- Also, make sure that you have backed up all your personal data, apps. While your data isn’t erased when you install TWRP or root a device, it’s always a good choice to have a backup anyway. Because, in case, if things go south, you don’t lose your data.
- For Contacts, Calendar and People details, use Google Accounts Sync to backup.
- Backup your apps and app data a precaution.
Downloads
- test-twrp-3.3.1-1-I01WD-zenfonde6.img – This is TWRP recovery image which will have to be saved to your PC, preferably inside the adb older on your computer.
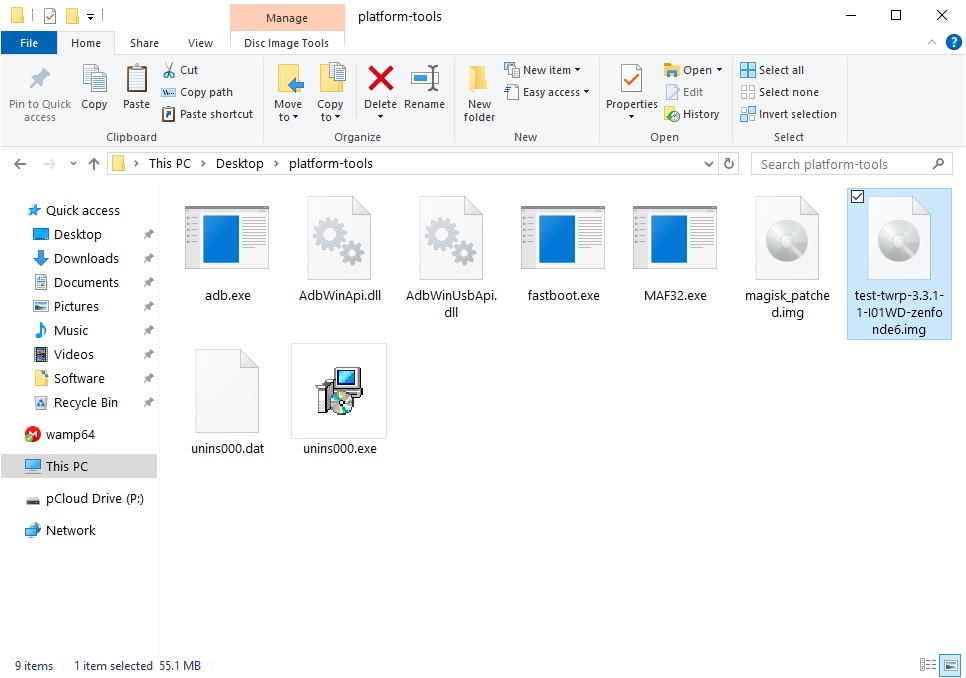
- test-twrp-3.3.1-1-I01WD-zenfonde6-installer.zip – This is the installer file that you’ll need to transfer to your phone’s storage.
- Magisk-v19.3.zip – Magisk installer to root the device.
Install TWRP on Asus Zenfone 6
Having downloaded Zenfone 6 TWRP recovery image and installer, follow the steps given below.
- First, connect your phone to your PC via a USB cable and make sure the connection isn’t loose.
- Next, go to the platform-tools folder on your PC.
- Type in cmd in the address bar and hit enter to open a command prompt window in the folder.
- Now to check if your device is properly connected to your PC, type the command given below and hit enter.
fastboot devices
Moreover, depending on your Linux distro you may have to use ./ before every command. Mac users will need to use it as well.
- If your device is connected, you will see your phone’s serial number and if you don’t, you should check if you have installed all the required drivers.
- In the Terminal, enter this command now to boot your device with TWRP.
fastboot boot /path/to/test-twrp-3.3.1-1-I01WD-zenfonde6.imgIn the command above, replace /path/to/ with the actual path to the twrp file. You don’t need to type a path if the twrp file is already placed in the platform-tools folder. Also, make sure you’re typing the correct file name of the TWRP image file.
- When your device boots to TWRP, go to Advanced > ADB Sideload and then swipe at the bottom to start it.
- Now use this command on the PC and flash the TWRP zip file.
adb sideload /path/to/test-twrp-3.3.1-1-I01WD-zenfonde6.imgSimilarly, replace /path/to/ with the actual path to the twrp file and use the correct file name.
- Once it is flashed, go back to TWRP main menu and select Reboot > recovery.
Root Asus Zenfone 6
- When your device is back in TWRP recovery, start the ADB sideload again as before.
- Now flash the Magisk zip with the same command as before.
adb sideload /path/to/magisk.zipReplace with the correct path and file names.
- Once Magisk is flashed, reboot your device normally and it should be rooted. You’ll find Magisk Manager in your app drawer.
That’s it! Your Asus Zenfone 6 is now rooted with Magisk.
Join The Discussion: