Abstract
Scanning paper documents doesn’t necessarily require the use of a specific scanner. With Android smartphones, this process can be quite simple. Whether you need to save a receipt, bring your documents to digital format or keep an important document, your phone can serve you as a reasonable substitute when there is no scanner at hand.
In this article, we will explain how you can scan your documents with the help of your Android phone, as well as how to improve their quality and find a way to save them in the easiest possible manner.
What Can be Scanned by Means of Your Android Smartphone?
Basically, your Android smartphone is able to scan several types of paper documents, especially when a few pages need to be scanned. Here are the types of documents you can scan:
- Receipts to keep a record of your purchases or expenses
- Invoices to keep a record of the payments and transactions made
- Notes and written texts to make a digital copy of handwritten text
- Copies of forms and applications that need to be submitted
- Business documents such as contracts, notes, and any business-related documents
- Scanning several pages of a document to keep them in a single file
- Scanning books or any bound documents to make copies of pages without taking them off the cover
Thus, when it comes to daily scanning of documents, Android smartphones can be quite a convenient solution for you, as long as you do not need to scan more than just a few pages. Otherwise, if your scanning needs are more frequent, a dedicated document scanner is quite helpful.
Using Google Drive to Scan Documents on Android
With Google Drive, scanning documents with your Android device is quite easy. You can scan any number of pages, from just one to many, and save them digitally.
To Scan:
1. Start Google Drive
Open the Google Drive app on your Android device (usually already installed on the device).
2. Begin Scanning
To activate the scanning option on Google Drive, tap the empty circle present at the bottom right side of the screen and then select Scan. Give permission to Google Drive to access the camera on your phone if needed.
3. Scan the Document
Keep the document on a surface and point the camera towards it. Ensure the document is in the middle of the screen and that the camera is stable. Google Drive will capture the scanned photo.
When the scan is completed, seeing the preview of the scanned page will be possible.
4. Scan More Pages
If the document is multi-page, click on the icon located to the right of the screen named Add page and start scanning the next page.
5. Edit the Scan
So, before saving the document, as per your requirement, you can make specific alterations to the scanned document using the tools given below the scanned page.
6. Save the Scanned Document
Once you are pleased with your document, you can click on Next and come up with a suitable name for your document. Afterward, you have to select the format of the document, whether PDF or JPEG, and choose the folder to save it.
Using Google Drive to Scan Documents on Android
With Google Drive, scanning documents with your Android device is quite easy. You can scan any number of pages, from just one to many, and save them digitally.
To Scan:
1. Start Google Drive
Open the Google Drive app on your Android device (usually already installed on the device).
2. Begin Scanning
To activate the scanning option on Google Drive, tap the empty circle present at the bottom right side of the screen and then select Scan. Give permission to Google Drive to access the camera on your phone if needed.
3. Scan the Document
Keep the document on a surface and point the camera towards it. Ensure the document is in the middle of the screen and that the camera is stable. Google Drive will capture the scanned photo.
When the scan is completed, seeing the preview of the scanned page will be possible.
4. Scan More Pages
If the document is multi-page, click on the icon located to the right of the screen named Add page and start scanning the next page.
5. Edit the Scan
So, before saving the document, as per your requirement, you can make specific alterations to the scanned document using the tools given below the scanned page.
6. Save the Scanned Document
Once you are pleased with your document, you can click on Next and come up with a suitable name for your document. Afterward, you have to select the format of the document, whether PDF or JPEG, and choose the folder to save it.
Is it Possible to Scan Books using Your Android Phone?
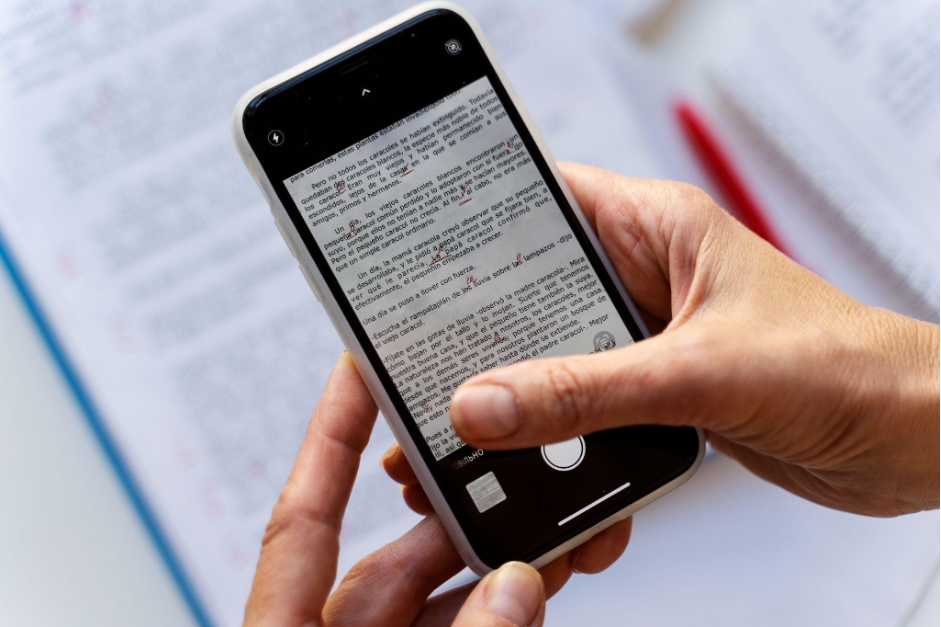
Yes, you can use your Android phone to scan the pages from your book. However, compared to scanning documents on flat paper, scanning book pages can be more difficult. Because of the spine, the pages are not flat, which affects the quality of the scan.
When you scan a book, you might notice shadows that appear near the spine, especially when the book is opened widely. The problem becomes clear when you hold your phone with your hand because the camera angle might shift, affecting the scan’s appearance and making the pages look different.
If you are planning to scan just a few pages, the Android phone is a great option since it is convenient to use as well as no additional devices are required.
Steps to Save Scanned Documents on Your Android Phone
After you scan your document, it is a good idea to categorize it immediately because that will make finding it much easier later.
Select the Format of the File
The file type you select will depend on how you are going to use your document. When you have a multi-page document to scan, it is better to use the PDF format as you can save several pages in one file. If you only need to save a single page in image, JPEG is more appropriate for you.
Use Identifiable Names for Your Files
You should not use default titles for your scans. Make the names meaningful. For example, you can name your files March_Invoice or Meeting_Notes_September. Also, if you add a date or the type of document to the file name, you will find it later much faster.
Organize Scanned Documents
If you scan documents often, make folders for each type of document you scan. Classify your documents by the following categories: receipts, work documents, study materials, and personal documents.
Save Important Files
If you deal with important documents, it is advisable to save a copy of them in a safe location or in the cloud.
Join The Discussion: