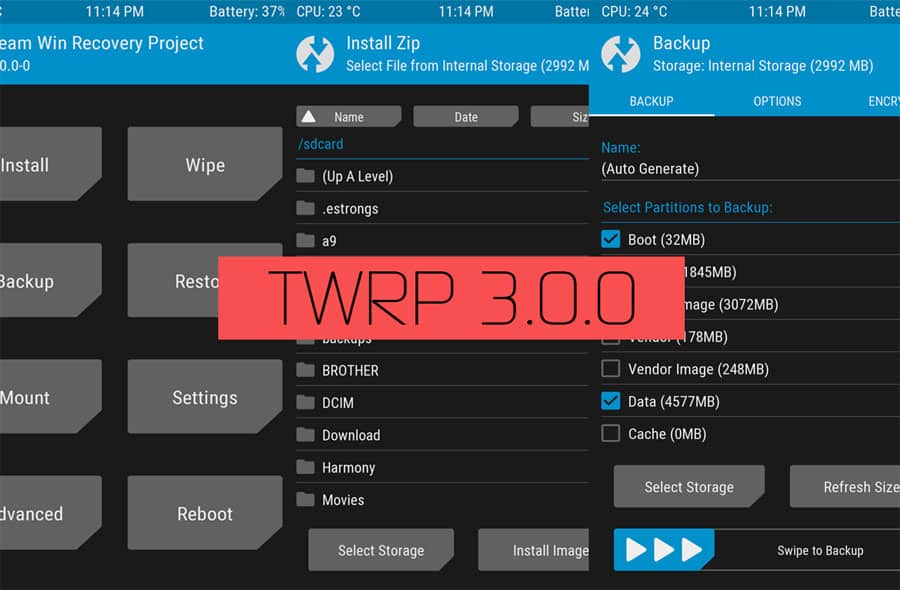
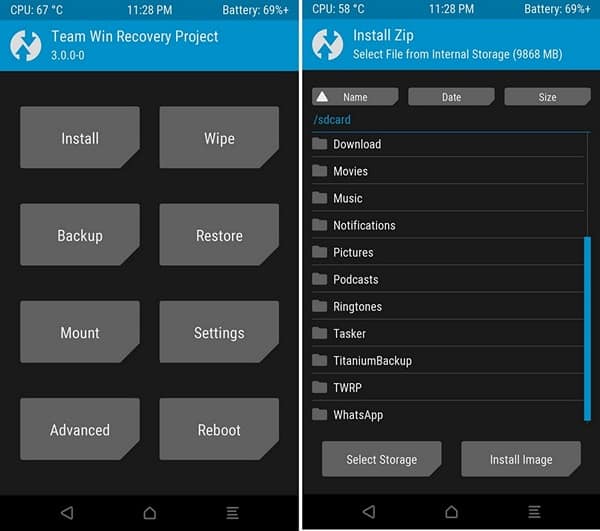
Teamwin Recovery Project, popularly known as TWRP, has just released a brand new version of the recovery. The new version comes with a brand new and modern design that is more in line with the design guidelines of the latest version of Android. Apart from the new design, TWRP 3.0 also comes with several performance improvements and critical security updates.
If you are an Android enthusiast and looking for ways to flash the TWRP 3.0 recovery on your Android device, there are some easy ways to do so. In today’s how-to guide, we are going to help you flash TWRP 3.0 recovery on your device.
Flash TWRP 3.0 on Android
There are many ways to flash TWRP recovery on your Android device. Apps like Flashify let you flash custom recoveries and (flashable) zip files right from within Android. However, it requires Superuser access. If you don’t have Superuser or SuperSU installed already, you can’t use Flashify (and other similar apps).
Flash TWRP 3.0 using Fastboot/ADB
The other easy way to install TWRP 3.0 on your Android device is to use Fastboot/ADB. It is also one of the safer ways to install a custom recovery.
Requirements
For flashing TWRP 3.0 on your Android device, we will need a few things.
- TWRP Recovery 3.0 image file. (Be sure to select the correct device)
- Android SDK Platform-tools zip
Once you’ve installed the ADB drivers from above, rename the TWRP 3.0 image file to something simpler like twrp.img. Our aim here is to keep the name short and recognizable so you don’t make any mistake while entering it.
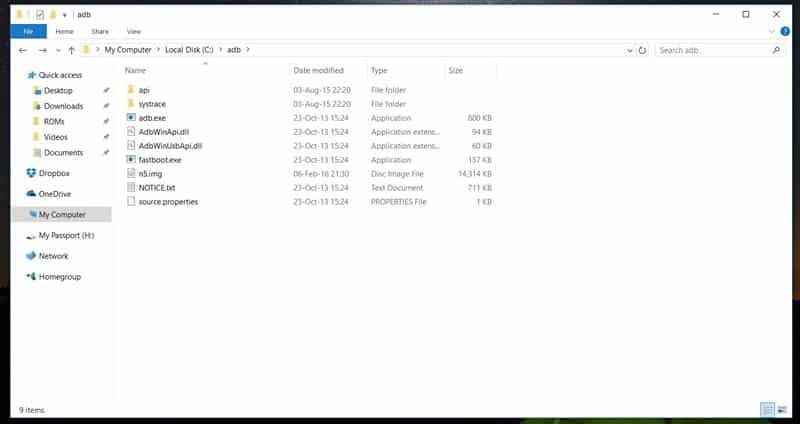
After renaming the TWRP 3.0 image file, transfer it to the same folder where Minimal ADB is installed. See the image above for reference.
Install TWRP 3.0
Follow these simple steps to install TWRP 3.0 on your phone.
- Turn your phone off. Now hold the power, volume up, and volume down buttons to boot into the bootloader. If you don’t have a Nexus, the combination will be slightly different. Drop in a comment and we’ll assist you with the right combination.
- In the ADB folder above, hold shift and right click (on empty space). Open a Command Window from the options.
- Connect your phone to the computer.
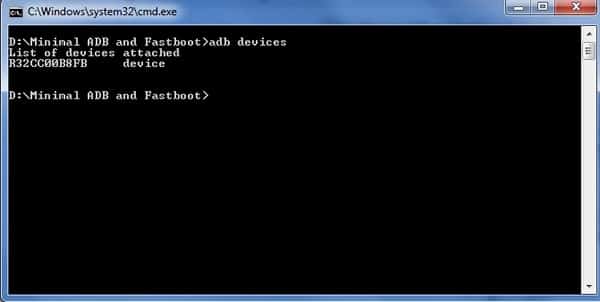
- Type the following and hit enter. You should see your device listed (with a number that may seem random, but it’s your device ID).
fastboot devices
- Now type and enter:
fastboot flash recovery twrp.img - Type
fastboot reboot
TWRP 3.0 will have been installed successfully on your Android device now.
Read next: Download Magisk Zip and Magisk Manager APK


Join The Discussion: