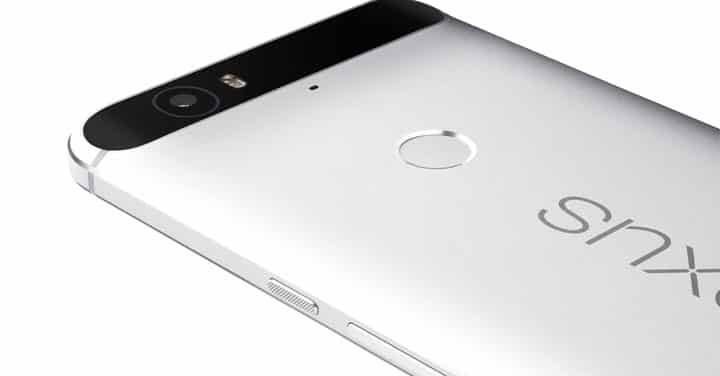
The Team Win Recovery Project developers have released a new version of their TWRP for the Nexus 6P. The new build decrypts the userdata right from the recovery. Google by default encrypts it’s Android software as a privacy measure. With initial builds, TWRP recoveries were unable to achieve decryption for the latest Nexus devices like 6P. However, with the tireless efforts from the developers, it is now possible.
As the support for decryption is enabled, TWRP will prompt you for a password if the device requires it on reboot. On the other hand, the recovery will automatically decrypt your device using the “default_password”, just like the normal operation of Android, without prompting.
This is a great news for all the Android flashers and modders who want to enjoy the stock firmware at it’s best with a custom recovery intact. Here is a tutorial that will help you flash the latest TWRP 2.8.7.2 recovery onto your system.
We have also listed the latest SuperSU v2.56 package which is OTA friendly. Meaning, you can root your Nexus device and still receive the official OTA updates from Google. However, it is in experimental stage and you should be cautious about it. We recommend that you visit the developer page from download section before you proceed.
This tutorial is meant for the those who have an unmodified system. If you already have TWRP installed and have root access, then install the TWRP with flashify or from within the recovery itself.
Warning: Warranty may be void if you root or install TWRP on your device. We at DroidViews won’t be liable for any damage to your device whatsoever. We won’t be held responsible if you brick your device. Reader’s discretion is advised.
Backup Apps and Data
While this process may not wipe any of your data, a backup is highly recommended. However, unlocking bootloader will remove apps and data. Once you install a custom recovery like TWRP, make sure you backup your system, data, etc. from the recovery. It will be helpful in case anything goes wrong.
Downloads
Here is a modified boot image that will help you install TWRP and gain root access without any complications. Listed is the latest TWRP build.
- Modified boot image — Download | File: angler-mdb08k-boot.zip (9.48 MB)
- TWRP recovery — Download | File: twrp-2.8.7.2-angler.img (16.4 MB)
- SuperSU v2.52 – Download | (File: BETA-SuperSU-v2.52.zip)
How to Install TWRP 2.8.7.2 on Nexus 6P
This procedure will unlock the bootloader, flash a modified boot image, install TWRP recovery and then root your device. Unlocked bootloader is required to install a modified boot image and setup a custom recovery. However, through custom recovery, you can flash custom packages for instance, the SuperSU file to root your device. If you have already unlocked your bootloader, then skip it.
Prerequisites
- Unlocked bootloader is required to install a custom recovery like TWRP on your device. We will go through the process in the following tutorial.
- Set up ADB and Fastboot on your computer. You can download the full Android SDK from here, or get the quick ADB and fastboot installer from here. For Mac or Linux OS, click here.
- Install Nexus USB Drivers on your computer.
- Open Settings> Developer options and enable USB Debugging on your device.
- Go to Developer options and enable Allow oem unlock. This is important.
Installation Instructions
- Make sure you have downloaded the boot image, recovery and suitable SuperSU zip files. Now transfer them to your PC. Also place the SuperSU package file into your device’s internal storage.
- Make sure you have setup ADB and fastboot on your PC. Also accept Always allow from this computer when you plug in the device for first time to enable USB Debugging.
- Now power off your device and unplug it from your PC.
- Boot into the bootloader or fastboot mode. To do so, press and hold volume down and the power button simultaneously for 5-6 seconds. When you see the bootloader screen, connect your device to the PC using a USB cable.(Choose fastboot if option is available) You can also issue the following code, while connected to the PC, to boot into the bootloader.
adb reboot bootloader
- Navigate to the location where you have placed the boot image and recovery files and extract them to get files with .img file. Rename the boot and recovery file to a simple one, like m-boot.img and twrp.img respectively just for your convenience.
- While the folder with boot and recovery file is open, hold shift key on your keyboard and right-click on an empty space and select “Open command window here” option to launch a command prompt window.
- Now type the following in the command prompt to check if fastboot is working correctly. It should provide the serial number of your device.
fastboot devices
- Now this is important. Make sure your device has unlocked bootloader. If not, then you first need to unlock it and then flash the boot and recovery image to your system. To do this issue the following command. Choose yes on the device screen if prompted.
fastboot oem unlock
- Flash the modified boot image by issuing the following command where “m-boot” is the name of the boot image.
fastboot flash boot m-boot.img
- Now flash the custom recovery. Issue the following command for that. “twrp.img” being the name of the recovery file.
fastboot flash recovery twrp.img
- Custom recovery will now be installed on your device. Now boot your phone into recovery mode. You can do this by turning your device off and then press and hold volume down and power keys at the same time. Or simply issue the following command while the device is still plugged in:
adb reboot recovery
- Once into the recovery, you can backup or nandroid backup your current ROM.
- Now return to the recovery home screen and tap Install and navigate to the SuperSU file in your device’s storage and select it.
- Confirm the swipe operation at the bottom to install the SuperSU package.
- Once the installation is complete, reboot to system.
Now you will have the latest TWRP and root access on your Nexus device. If the device doesn’t boot or gets into bootloop, you can always restore the ROM from the backup. Verify root using a root checker app that supports Android 6.0 Marshmallow.
Revert Back to Stock:
How to Install Latest Factory Image on Nexus 6P
For queries, comment down below. If we have helped you, then like and share us on social platforms. If you need help with other devices, let us know.
“fastboot oem unlock” doesn’t work for the Nexus 6P, it is now “fastboot flashing unlock”.